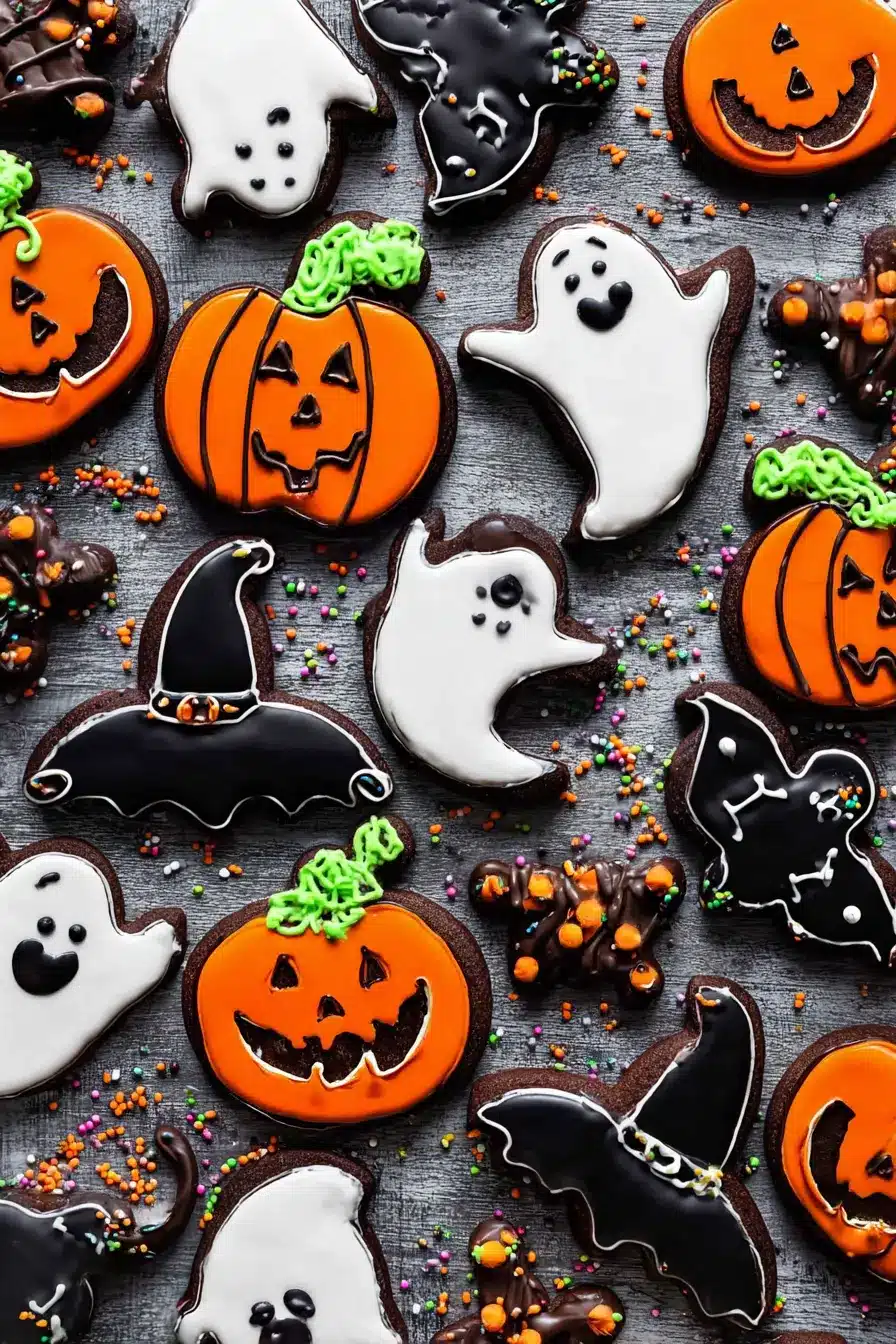
I made these cookies one crisp October afternoon while my kids were painting pumpkins and the scent of cocoa filled the kitchen. That moment stuck with me — a little messy, a lot joyful. These Halloween chocolate cookies are soft, chocolaty, and perfect for shaping into ghosts, pumpkins, or whatever creepy cookie cutter you pull from the drawer. Whether you’re a cookie-decorating pro or just adding eyeball sprinkles with your little monsters, this recipe works for everyone.
Table of Contents
Why You’ll Love These Halloween Chocolate Cookies
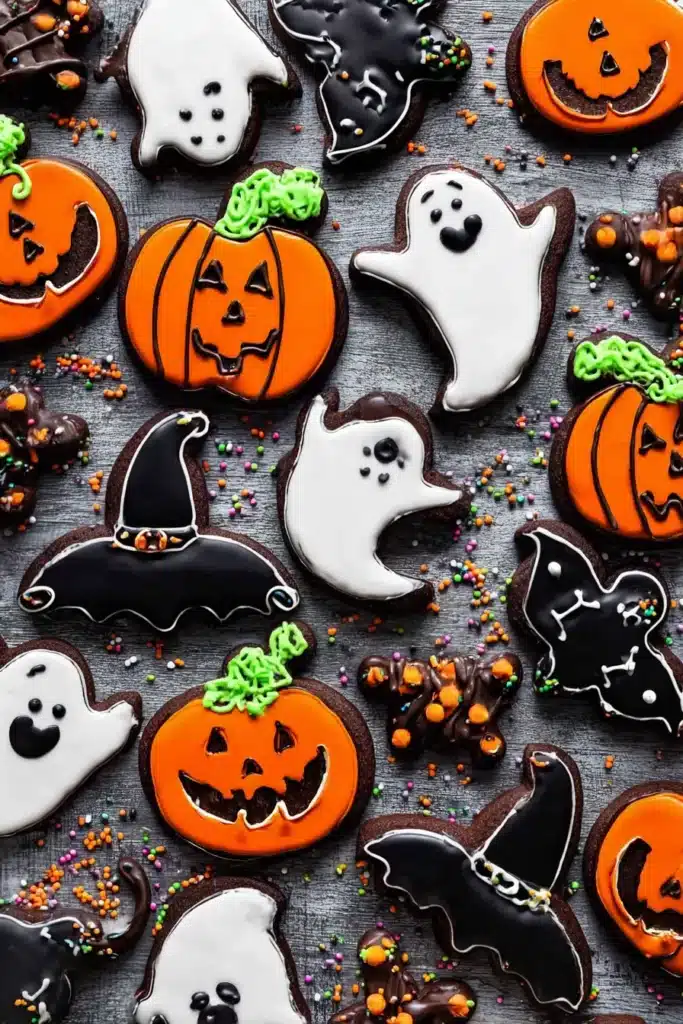
These cookies bake up soft and rich, with a deep cocoa flavor that tastes like a brownie disguised as a cookie. They hold their shape beautifully, so your bats won’t look like blobs. You can decorate them with royal icing for sharp, professional lines or go simple with a quick glaze icing and festive sprinkles.
Also, the dough is freezer-friendly, and the baked cookies stay soft for days. You can make everything ahead of time — even weeks early if you’re prepping for a party. Plus, decorating is a fun activity with kids (or a cozy night in with a cup of cider and your favorite Halloween playlist).
Ingredients & Tools You’ll Need
Ingredients
- All-purpose flour (1 ½ cups): Spoon and level for accuracy
- Unsweetened cocoa powder (¾ cup): Natural or Dutch-process both work; sift for smooth mixing
- Baking powder (1 tsp): Helps the cookies puff just slightly
- Salt (⅛ tsp): A pinch brings out the chocolate flavor
- Unsalted butter (¾ cup, softened): Let it sit out for 30 mins
- Granulated sugar (1 cup): Sweet but not overly so
- Large egg (1): Room temperature blends best
- Pure vanilla extract (1 tsp): Adds warmth to the chocolate
- Royal Icing or Easy Glaze Icing: Use this royal icing recipe for detailed work or this glaze icing for a simpler option
- Gel food coloring (optional): Orange, black, and green are our go-tos
Tools
- Halloween cookie cutters (ghosts, cats, pumpkins, etc.)
- Parchment paper or silicone baking mats
- Rolling pin + cocoa powder for dusting
- Piping bags and Wilton tips (#2 for details, #4 for outlining)
- Optional: squeeze bottles for glaze icing
- Toothpicks or needle scribers for fine details
- Eyeball candies and themed sprinkles for fun finishes
Step-by-Step: Making the Cookies
Make the Dough
Start by whisking your dry ingredients — flour, cocoa powder, baking powder, and salt — in a bowl. Set it aside.
In a separate bowl, cream the butter and sugar together until smooth and fluffy (about 3 minutes). Then, beat in the egg and vanilla.
Add the dry ingredients to the wet, mixing on low until a dough forms.
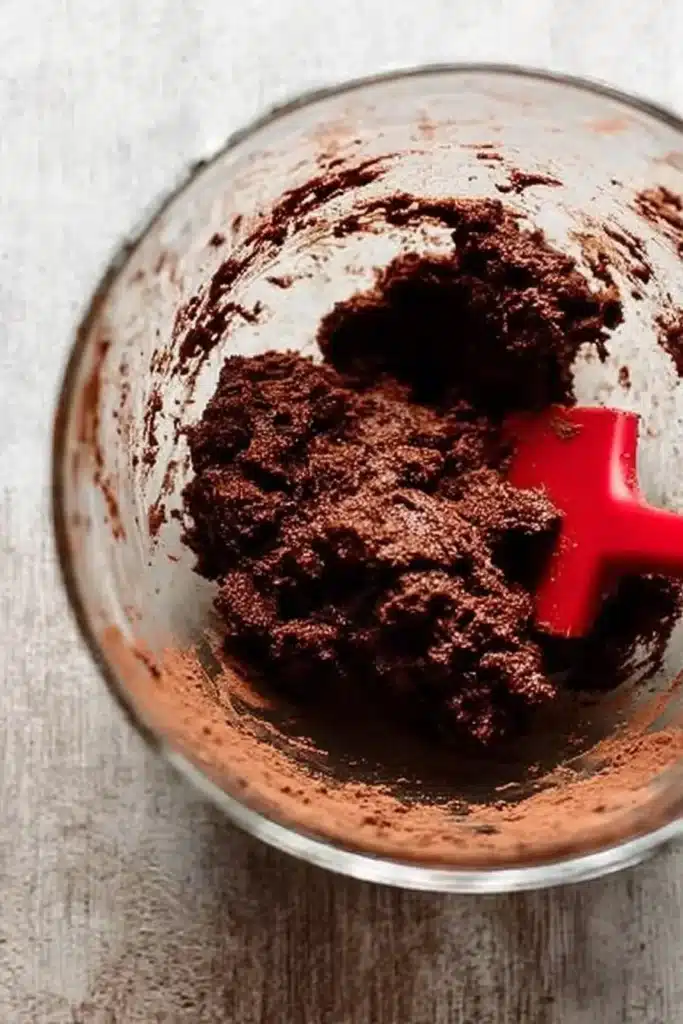
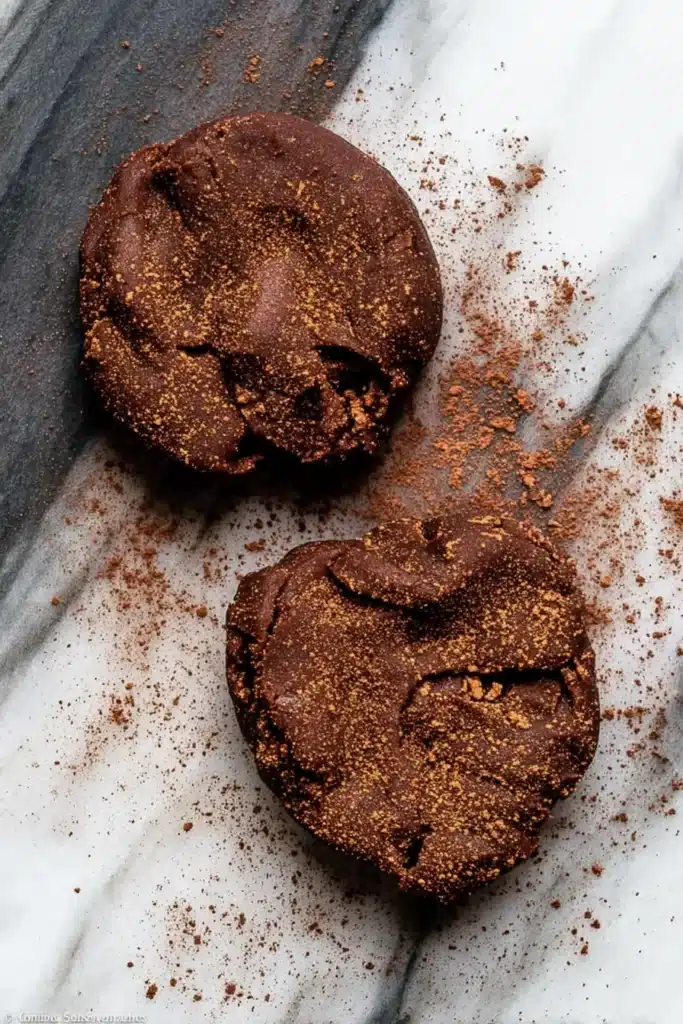
If it’s too sticky, add a tablespoon of flour.
Divide the dough into two portions. Roll each to about ¼ inch thickness
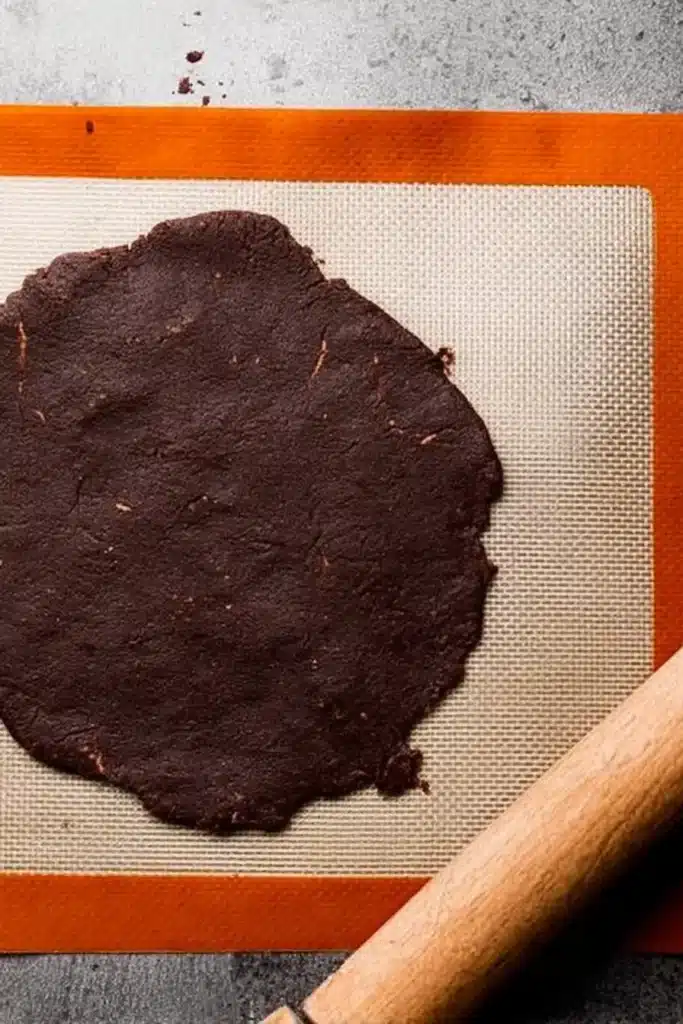
between cocoa-dusted parchment or silicone mats. Stack the rolled dough with parchment between, then wrap and chill in the fridge for 1–2 hours.
Bake the Cookies
Preheat your oven to 350°F (177°C).
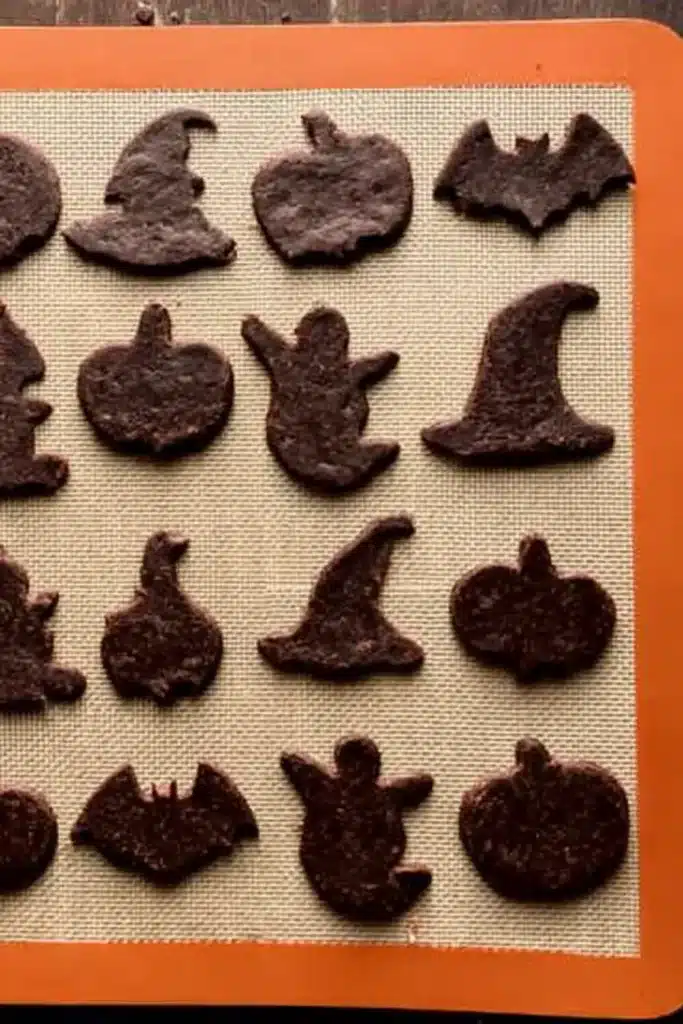
Once chilled, use your Halloween cookie cutters to shape the dough. Re-roll scraps if needed.
Place cookies on lined baking sheets and bake for 11–12 minutes. Let them cool on the baking sheet for 5 minutes, then move to a wire rack.
Decorating Your Halloween Cookies
Choose Your Icing
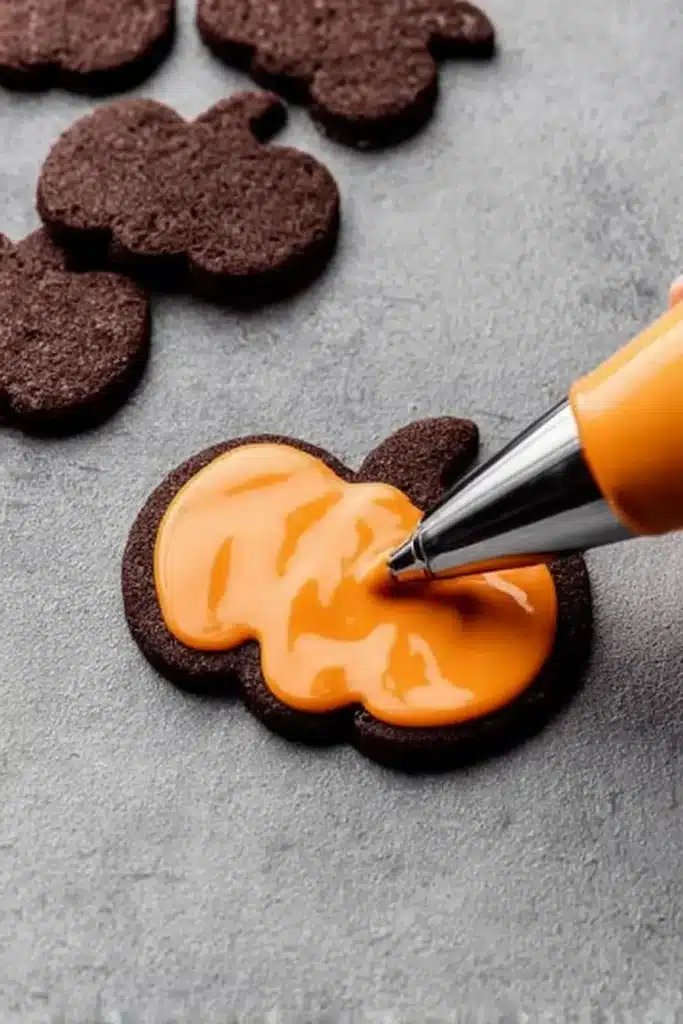
For clean, detailed designs, royal icing is your best bet. It dries hard and fast. If you’re new to decorating, go with easy glaze icing — it’s simpler and gives a shiny finish (though it takes longer to dry).
Tinting & Coloring Tips
Use gel food coloring for the most vibrant hues. Stick to orange, super black, and mint green for classic Halloween vibes.
Colors deepen as they dry, so go easy on the food coloring at first. Mix a small batch, test it, then adjust.
Decorating Ideas
- Outline your shapes with thicker icing
- Flood with thinner icing using squeeze bottles or a spoon
- Use a toothpick to spread icing into corners
- Add eyeball candies, spiders, or Halloween sprinkles while icing is wet
Beginners: try buttercream instead or just dip in glaze and toss on sprinkles. No rules here — just spooky fun.
For more ideas, try these spooky and buttery Halloween pinwheel cookies or this creepy Halloween spiderweb brownies recipe.
Storage & Freezing Tips
Room Temperature: Keep cookies in an airtight container for up to 5 days.
Refrigerator: They’ll last up to 10 days.
Freezer: Freeze baked cookies (plain or decorated) for up to 3 months. If decorated, make sure the icing is fully set before freezing.
Dough Freezing: Freeze the dough after mixing but before rolling. Thaw overnight in the fridge, then roll, chill again, and bake.
Halloween Chocolate Cookies Recipe Card
Print
Halloween Chocolate Cookies | Fun & Spooky Family Treat
- Total Time: 1 hour 45 minutes
- Yield: 24 cookies 1x
Description
Rich chocolate sugar cookies perfect for Halloween. Fun to decorate with royal or glaze icing, and ideal for parties or baking with kids.
Ingredients
1 and 1/2 cups (188g) all-purpose flour (spooned & leveled)
3/4 cup (62g) unsweetened natural or Dutch-process cocoa powder, plus more for rolling
1 teaspoon baking powder
1/8 teaspoon salt
3/4 cup (170g) unsalted butter, softened
1 cup (200g) granulated sugar
1 large egg, room temperature
1 teaspoon pure vanilla extract
Royal Icing or Easy Glaze Icing
Optional: Gel food coloring (orange, super black, mint green)
Instructions
1. Whisk together the flour, cocoa powder, baking powder, and salt in a bowl.
2. In a separate bowl, cream the butter and sugar until smooth (about 3 minutes).
3. Add the egg and vanilla, and beat until combined.
4. Gradually add dry ingredients and mix until dough forms. If sticky, add 1 tbsp flour.
5. Divide dough in two, roll each between cocoa-dusted parchment to 1/4-inch thick.
6. Stack, wrap, and chill dough for 1–2 hours.
7. Preheat oven to 350°F (177°C).
8. Cut chilled dough into Halloween shapes. Re-roll scraps as needed.
9. Bake for 11–12 minutes. Cool on sheet 5 mins, then transfer to wire rack.
10. Prepare royal or glaze icing. Tint with gel food coloring if desired.
11. Decorate cookies by outlining and flooding, or use sprinkles and candy eyes.
12. Let icing dry completely: 2 hrs for royal, 24 hrs for glaze.
13. Store cookies or freeze once icing is dry.
Notes
Use cocoa powder (not flour) for rolling to keep the cookies rich in color.
Let icing dry fully before layering or freezing.
Colors darken as icing dries — use less food coloring than you think.
Beginners can decorate with buttercream or just sprinkles — no pressure!
Freeze dough or baked cookies for up to 3 months.
- Prep Time: 20 minutes
- Cook Time: 12 minutes
- Category: Halloween Recipes
- Method: Baking
- Cuisine: American
Nutrition
- Serving Size: 1 cookie
- Calories: 140
- Sugar: 10g
- Sodium: 45mg
- Fat: 7g
- Saturated Fat: 4g
- Unsaturated Fat: 2g
- Trans Fat: 0g
- Carbohydrates: 18g
- Fiber: 1g
- Protein: 2g
- Cholesterol: 25mg
More Such Recipes
- Try these festive cauldron cookies for Halloween parties
- Learn how to make Halloween chocolate chip cookies the easy way
FAQ
What are the 7 basic ingredients in all cookies?
Flour, sugar, fat (like butter), eggs, leavening (baking powder or soda), salt, and a flavoring (like vanilla or chocolate).
What is Michelle Obama’s favorite cookie?
She’s shared that she loves chewy chocolate chip cookies — classic and comforting.
What is a spooky cookie kit?
It’s a fun Halloween-themed cookie decorating kit that usually includes shaped cookies, icing, and toppings. Great for parties or kids’ crafts.
What should I bake for Halloween?
Anything fun and festive! These Halloween chocolate cookies are perfect, but you could also try spiderweb brownies, pumpkin cupcakes, or spooky pinwheel cookies.

Final Thoughts
These Halloween chocolate cookies are everything you want in a festive fall treat — rich, fudgy, and so fun to decorate. Whether you’re baking with kids, prepping for a party, or just leaning into spooky season, this recipe gives you plenty of ways to make it your own.
🎃 Don’t forget to share your decorated cookies with us or get inspired by more Halloween bakes!
Follow us on Pinterest for even more creepy-cookie ideas,
and join the fun on Facebook for behind-the-scenes tips, photos, and community love.
Happy Halloween and happy baking!
