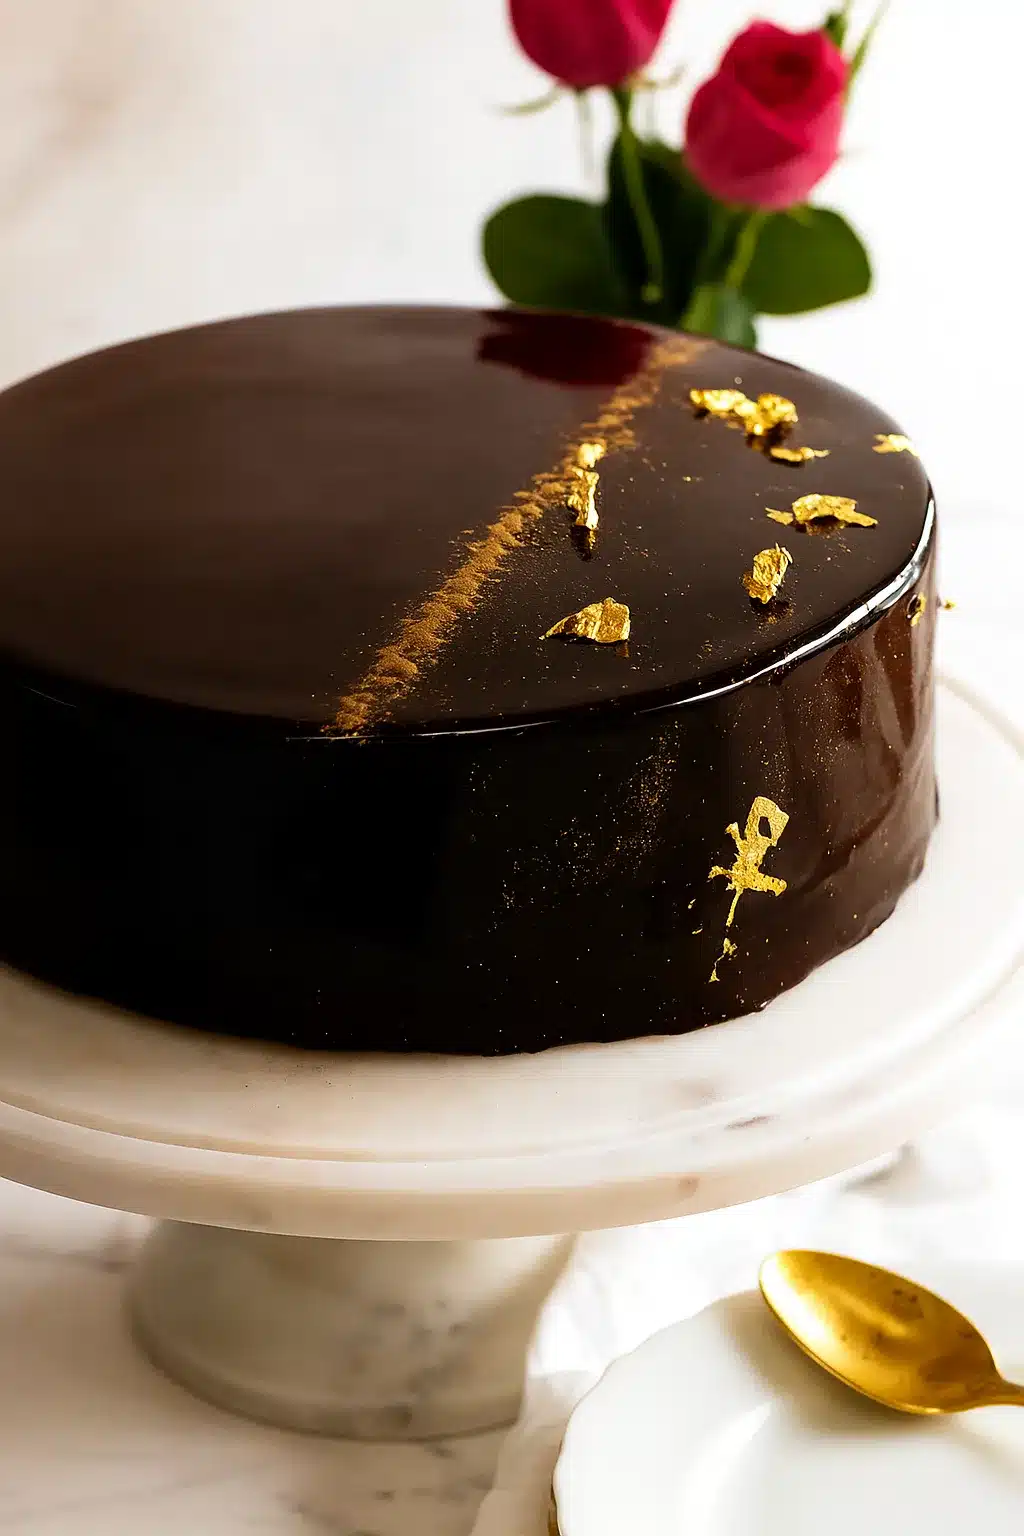
When the Thanksgiving table is full of warm pies and crumbles, bringing out a cake that shines like a glassy river feels like magic. That glossy coat, rich with cocoa and drama, stops everyone mid-sentence. This chocolate mirror glaze? It’s your secret weapon for dessert awe.
Table of Contents
What is Chocolate Mirror Glaze?
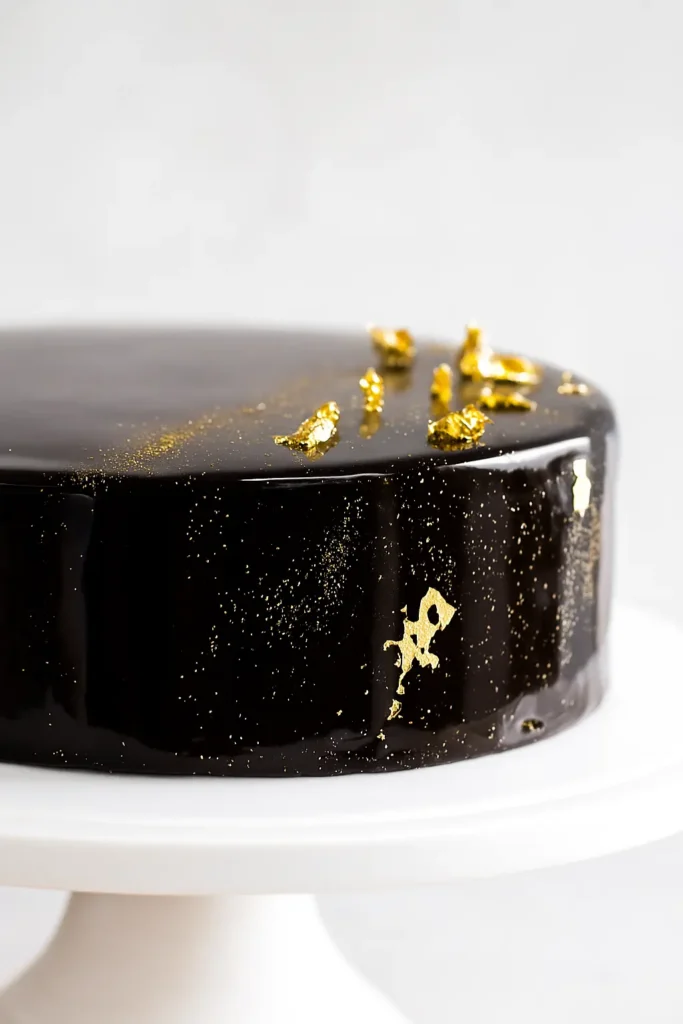
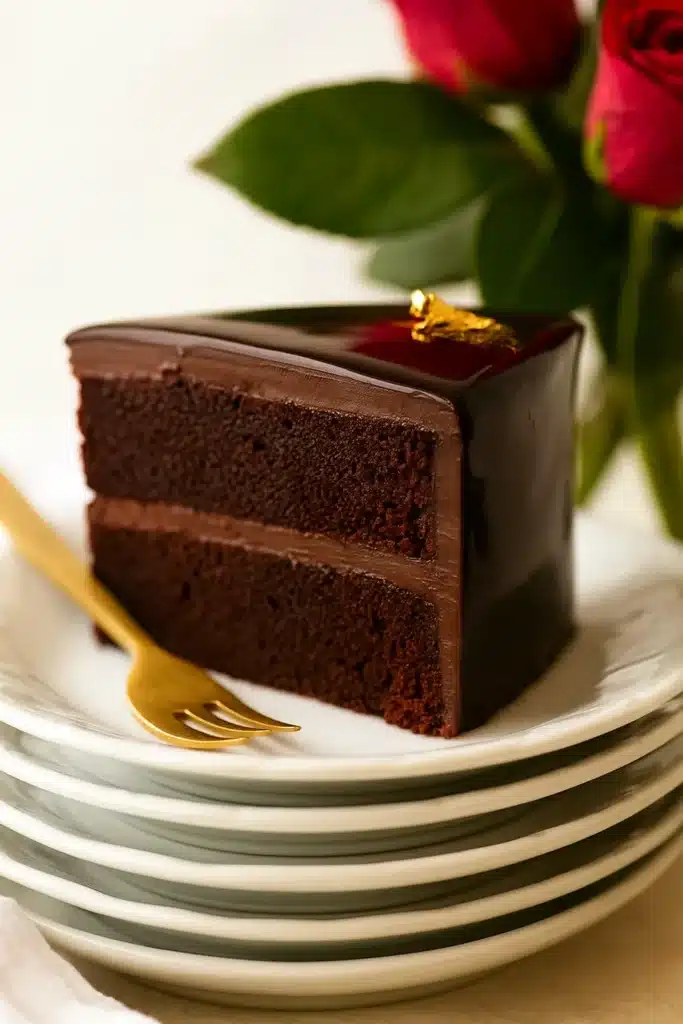
Chocolate mirror glaze, also known as glacage chocolat, is a glossy, cocoa-rich glaze that creates a glass-like surface on cakes. It’s often seen on mousse cakes and celebration desserts. But here’s the good news: it’s not just for pastry chefs.
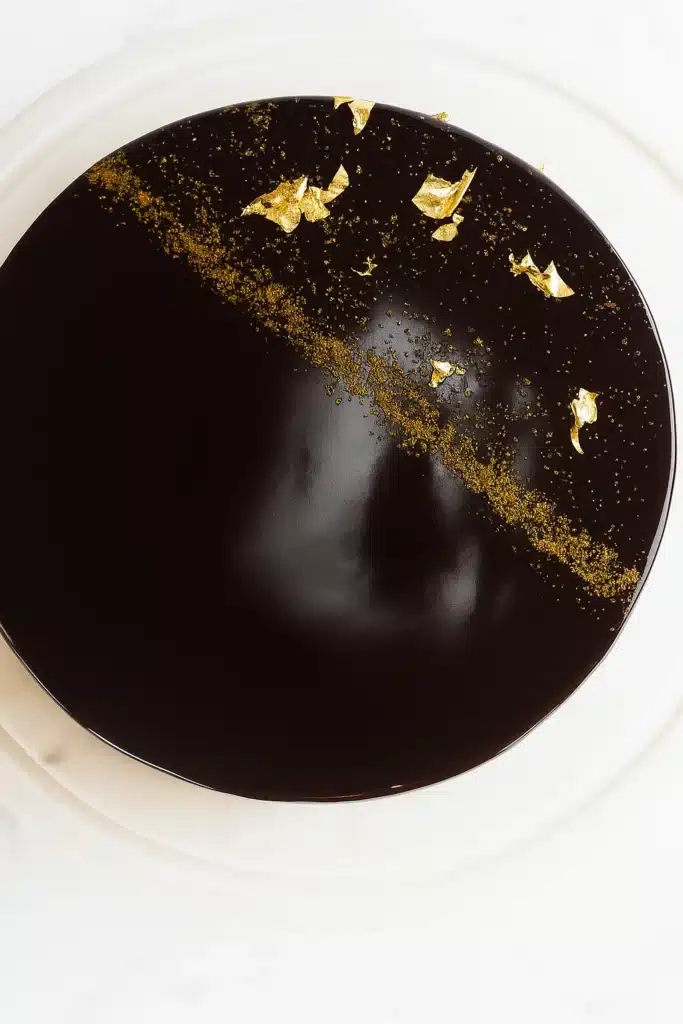
You can make it at home with basic tools—just a meat thermometer, a fine-mesh strainer, and a bit of kitchen confidence. The result? A shiny, flawless finish that keeps its mirror effect for days. And yes, it tastes as good as it looks.
Ingredients You’ll Need
To make this luscious glaze, you’ll need:
- 2 ½ tablespoons cold water
- 4 teaspoons gelatin powder
- ⅔ cup water
- ⅔ cup pure cream (or regular whipping cream)
- 1 cup sifted unsweetened cocoa powder (Dutch-processed works best)
- 1 cup + 2 tablespoons caster/superfine white sugar
Optional but lovely:
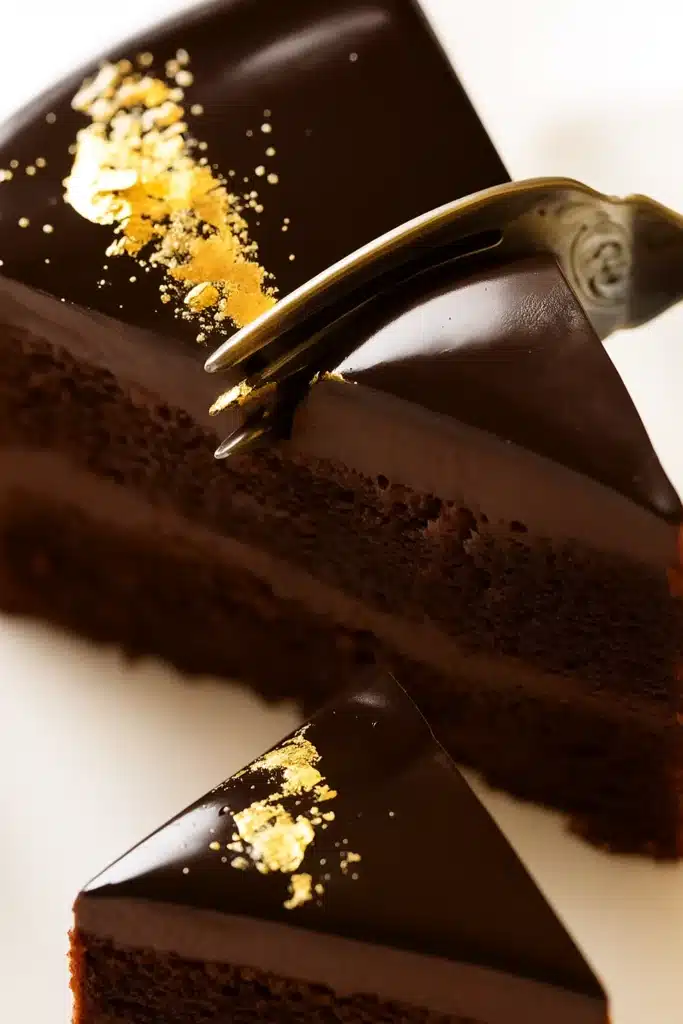
- Gold leaf or gold dust for a festive touch.
Best Cakes and Frostings for Mirror Glaze
Cakes that work best
Mirror glaze needs a sturdy base. It works beautifully on:
- Chocolate cake (classic and reliable)
- Mousse cakes (only if well chilled and firm)
Avoid soft or airy cakes like chiffon or angel food—they collapse under the glaze.
Frostings that hold up
Frosting needs to be ultra-smooth and chilled. Best picks:
- Dark chocolate ganache (my go-to)
- Vanilla or chocolate buttercream
- Swiss or French meringue buttercream
- Fluffy vanilla frosting
Smooth frosting = smooth glaze.
Step-by-Step: How to Make Chocolate Mirror Glaze
Step 1 – Prepare the cake base
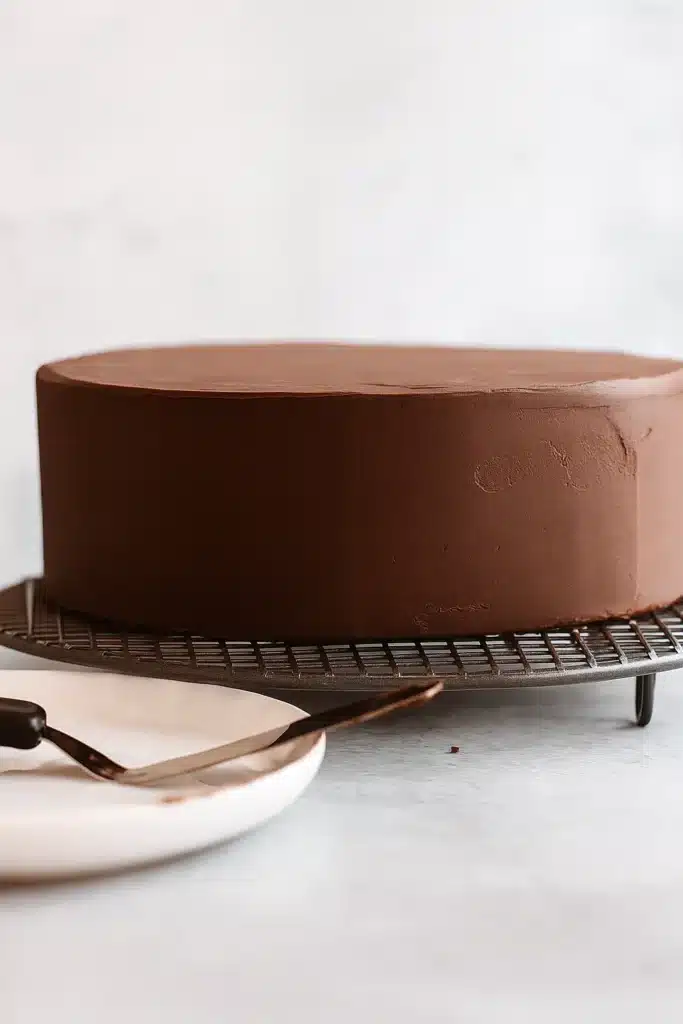
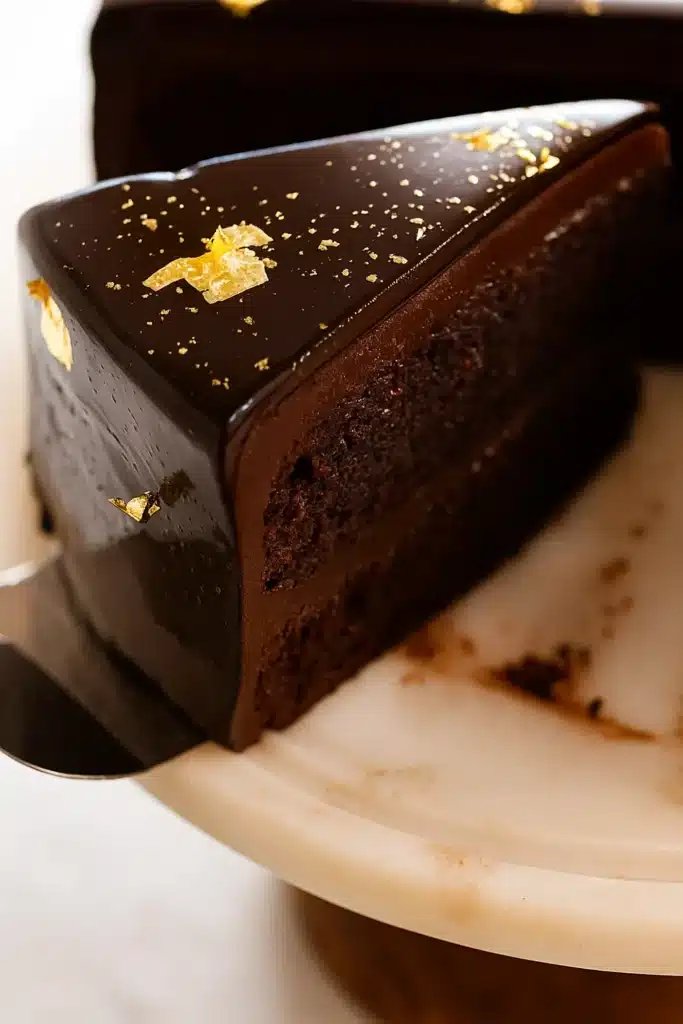
Frost your cake evenly with a firm, chilled frosting like ganache. Smooth every edge—glaze highlights bumps like a spotlight. Then, chill the cake for at least 30 minutes. Cold cake helps the glaze set fast and even.
Step 2 – Make the glaze
- Bloom the gelatin
In a small bowl, mix gelatin powder with cold water. Let it sit 5 minutes to bloom. It will look gel-like. - Make the cocoa base
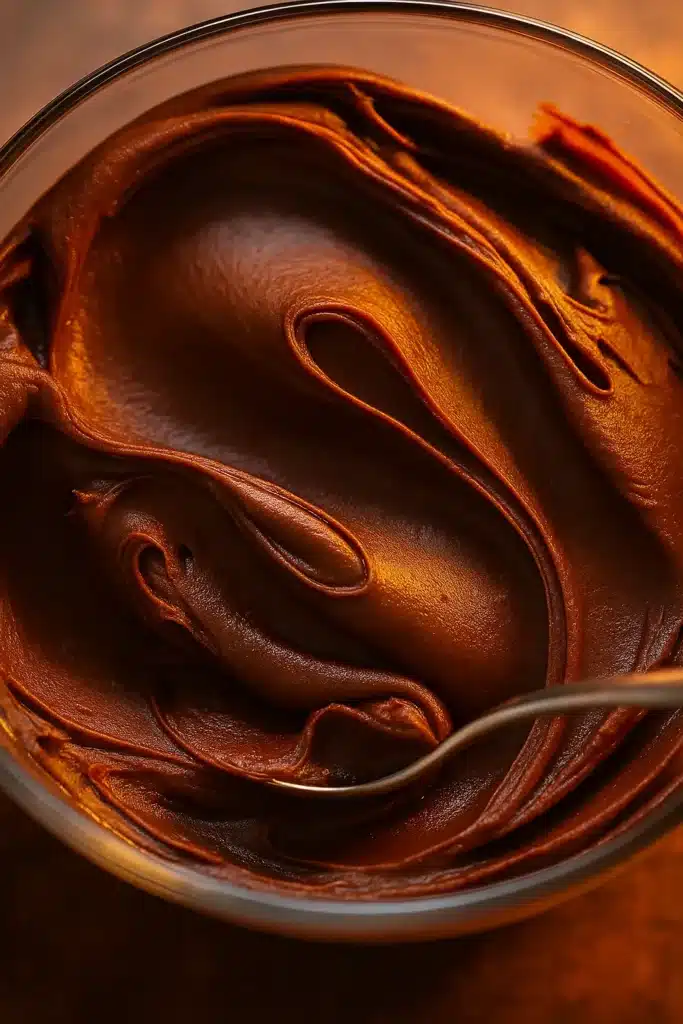
In a saucepan, whisk the sifted cocoa powder and water into a smooth paste. No lumps. - Add cream and sugar
Stir in the cream and sugar gently. Avoid creating bubbles. Heat over medium heat. - Boil, then remove
Bring to a gentle boil. Once bubbling, take it off the heat. - Add gelatin
Stir in the bloomed gelatin until completely dissolved. Do this gently. - Strain and cool
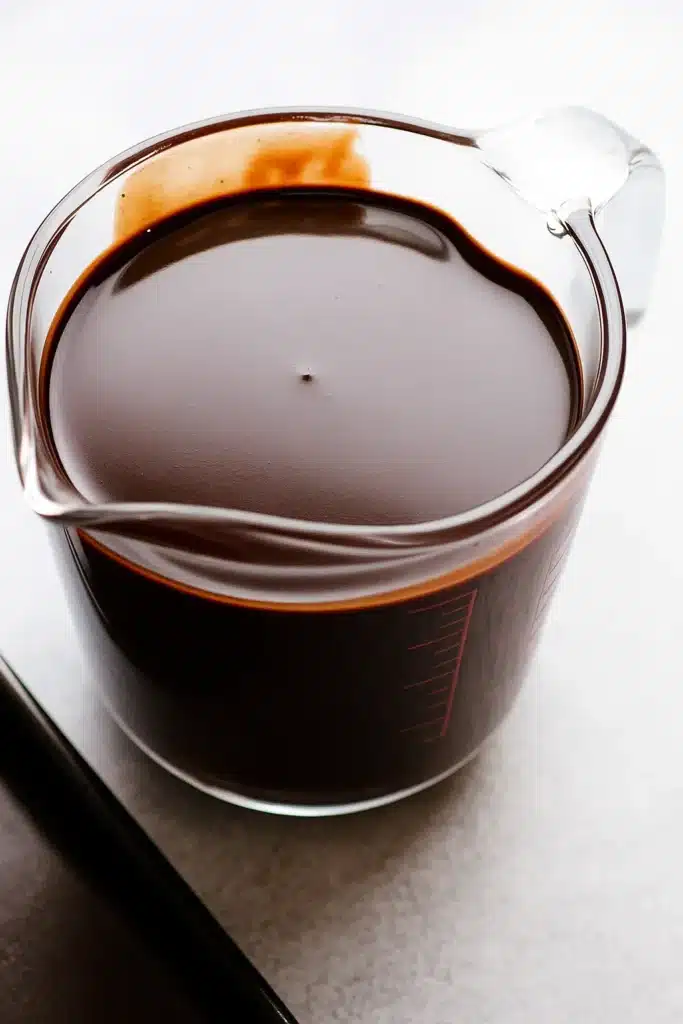
Pour through a fine mesh strainer into a bowl. Cover with cling wrap touching the surface. Let it cool to 30°C (86°F). - Strain again before pouring
Right before glazing, strain into a jug to remove any skin or bubbles.
Step 3 – Glaze the cake
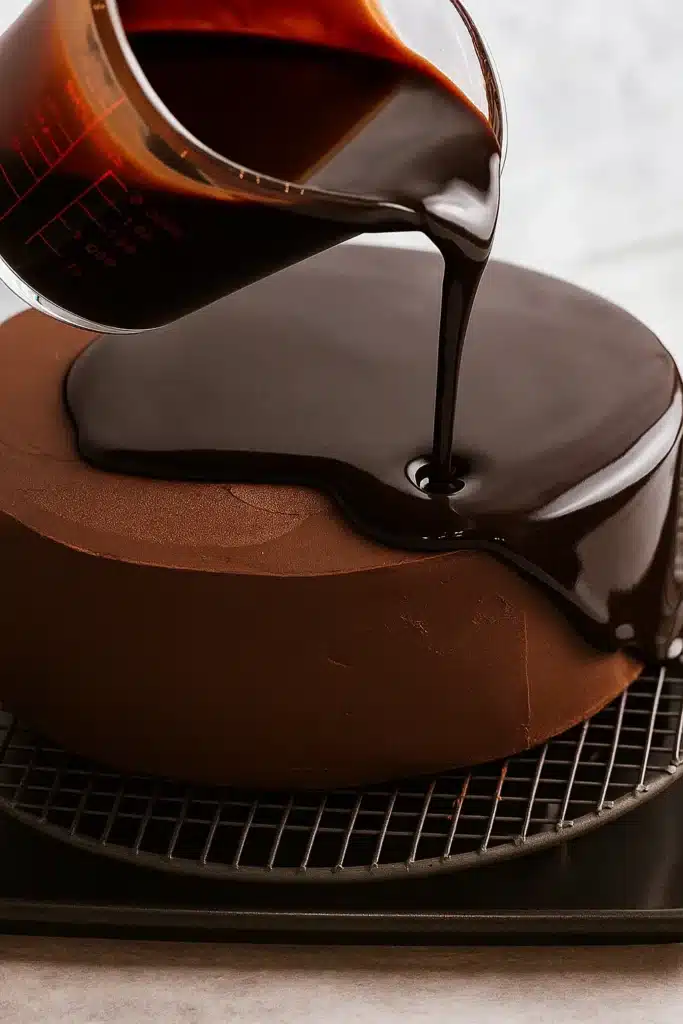
Place your cold cake on a wire rack over a tray.
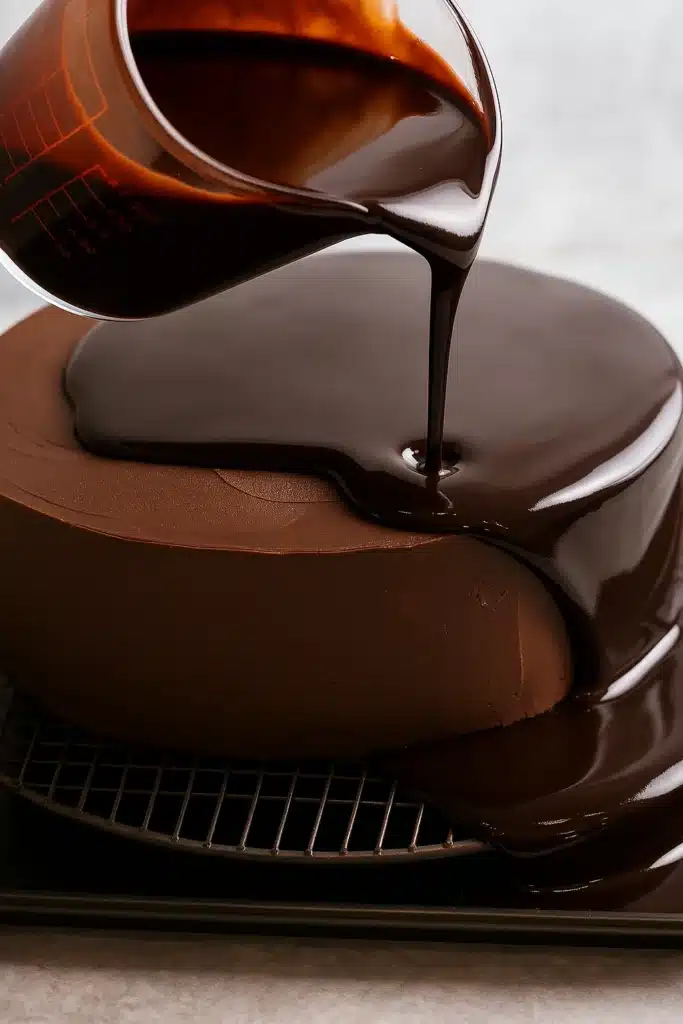
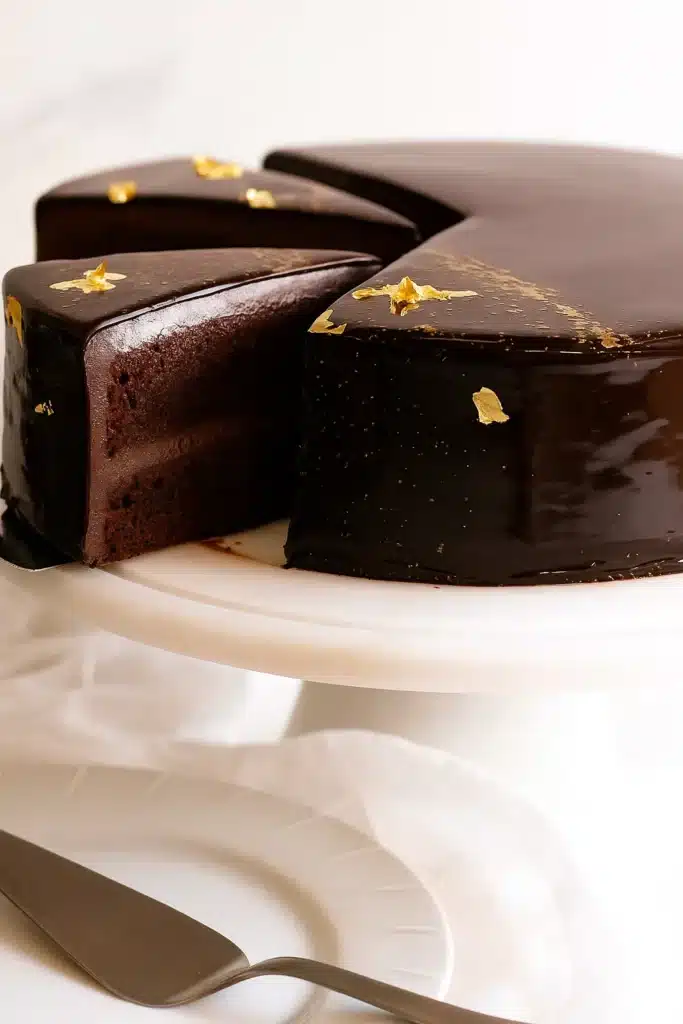
Pour the glaze in a smooth spiral motion from the center outward. Don’t stop mid-pour—it will leave a ring. Let the glaze flow naturally over the sides. Within 10 minutes, carefully transfer the cake to a platter.
Important: Don’t touch the glaze once it sets. It leaves marks.
Fixing Blemishes and Common Mistakes
Even in real kitchens, things happen. Here’s how to fix:
- Tiny gaps? Patch with leftover glaze using a warmed palette knife.
- Bubbles? A quick pass with a blowtorch pops them.
- Rough spots? Press a little edible gold dust or a fleck of gold leaf. It hides the spot and adds sparkle.
Avoid these glaze mistakes:
- Pouring too cold: glaze won’t flow
- Overheating: ruins texture and shine
- Overmixing: hello, bubbles
Storage and Make-Ahead Tips
You can make mirror glaze ahead of time:
- Refrigerate for up to 1 week
- Freeze in an airtight container
- Reheat gently (avoid bubbles!) and strain before use
Once on the cake:
- Glaze seals the cake. If your room is cooler than 72°F (22°C), you can keep it uncovered.
- Glazed cakes stay glossy and good for 4 days, and still taste great up to 6.
Unlike condensed milk glazes, this one stays shiny.
Chocolate Mirror Glaze Recipe (Recipe Card)
Print
Chocolate Mirror Glaze – Stunning Finish, Easy Recipe
- Total Time: 20 mins
- Yield: 1 glaze for 1 x 8” (20cm) cake 1x
Description
A shiny, glossy chocolate mirror glaze perfect for covering cakes and mousse desserts. Made with cocoa, cream, and gelatin, it gives your dessert a flawless, mirror-like finish.
Ingredients
2 ½ tablespoons cold water
4 teaspoons gelatin powder
⅔ cup water
⅔ cup pure cream or regular whipping cream
1 cup sifted unsweetened cocoa powder (preferably Dutch-processed)
1 cup + 2 tablespoons caster/superfine white sugar
Optional: Edible gold leaf or gold dust
Instructions
1. Mix gelatin with cold water and let bloom for 5 minutes.
2. In a saucepan, whisk cocoa powder and water into a smooth, lump-free paste.
3. Stir in cream and sugar gently to avoid bubbles. Heat over medium.
4. Once it reaches a gentle boil, remove from heat and stir in the bloomed gelatin until fully dissolved.
5. Strain through a fine mesh sieve into a bowl. Cover with cling wrap touching the surface.
6. Let cool to 30°C (86°F). Strain again into a jug to remove bubbles before pouring.
7. Chill frosted cake for at least 30 minutes. Place on rack over tray.
8. Pour glaze in a spiral motion from the center outward in one smooth motion.
9. Let glaze drip and set. Do not touch once set.
10. Transfer to serving platter within 10 minutes.
Notes
Don’t overmix the glaze—bubbles ruin the shine.
Always glaze at 30°C (86°F) for a smooth, glossy finish.
Best results come from a very smooth, chilled cake surface.
Patch minor blemishes with leftover glaze and a warmed palette knife.
- Prep Time: 10 mins
- Cook Time: 10 mins
- Category: Thanksgiving Desserts
- Method: Stovetop
- Cuisine: French
Nutrition
- Serving Size: 1 slice
- Calories: 645
- Sugar: 1g
- Sodium: 9mg
- Fat: 6g
- Saturated Fat: 4g
- Carbohydrates: 5g
- Fiber: 3g
- Protein: 3g
- Cholesterol: 15mg
More Such Recipes
Love chocolate? Try these too:
- Fudgy Homemade Brownies for serious chocolate lovers
- No-Bake Chocolate Oreo Lasagna for effortless indulgence
- Halloween Chocolate Cake with dramatic dark frosting
- Chocolate Peanut Butter Pie – rich, creamy, and no baking needed
FAQs
Can I make mirror glaze without gelatin?
Not really. Gelatin is what gives it that signature shine and stretch. Some recipes use agar-agar, but results vary. Stick with gelatin if you want that mirror finish.
Why isn’t my glaze shiny?
The glaze might’ve been too hot or too cold. Aim for 30°C (86°F). Also, overmixing adds bubbles and ruins smoothness. And remember: smooth frosting underneath is key.
How do I fix air bubbles in mirror glaze?
Use a blowtorch briefly or run glaze through a fine mesh strainer right before pouring. You can also press gold leaf over stubborn spots for a festive cover-up.
Final Thoughts
This chocolate mirror glaze is more than a dessert topper—it’s a little moment of drama on your Thanksgiving table. It’s okay if the first try isn’t perfect. You’ll get better each time. And when that glossy finish hits the light? It’s worth every careful step.
Want more inspiration or decorating ideas? Check out my Pinterest boards or say hi over on Facebook.
