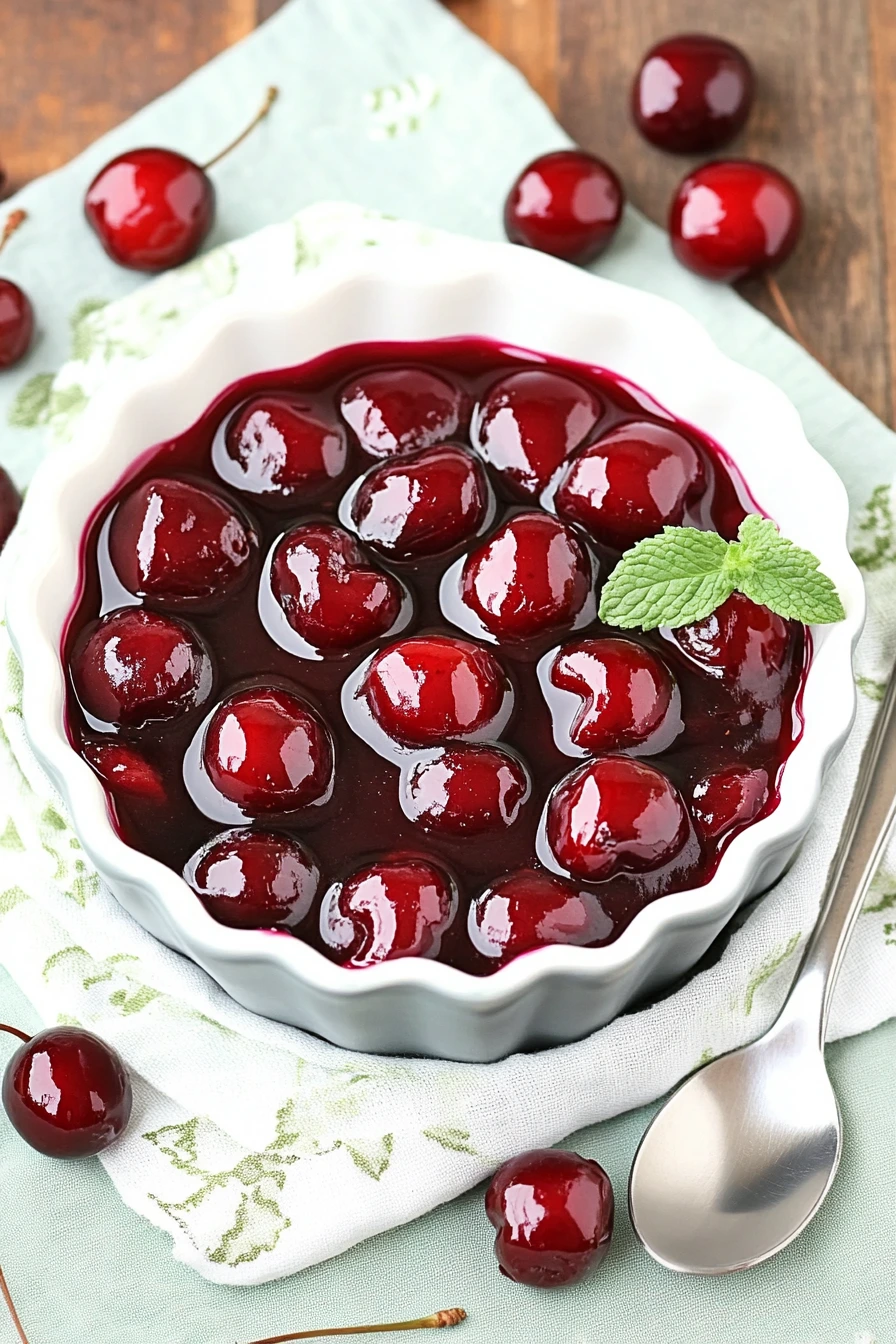
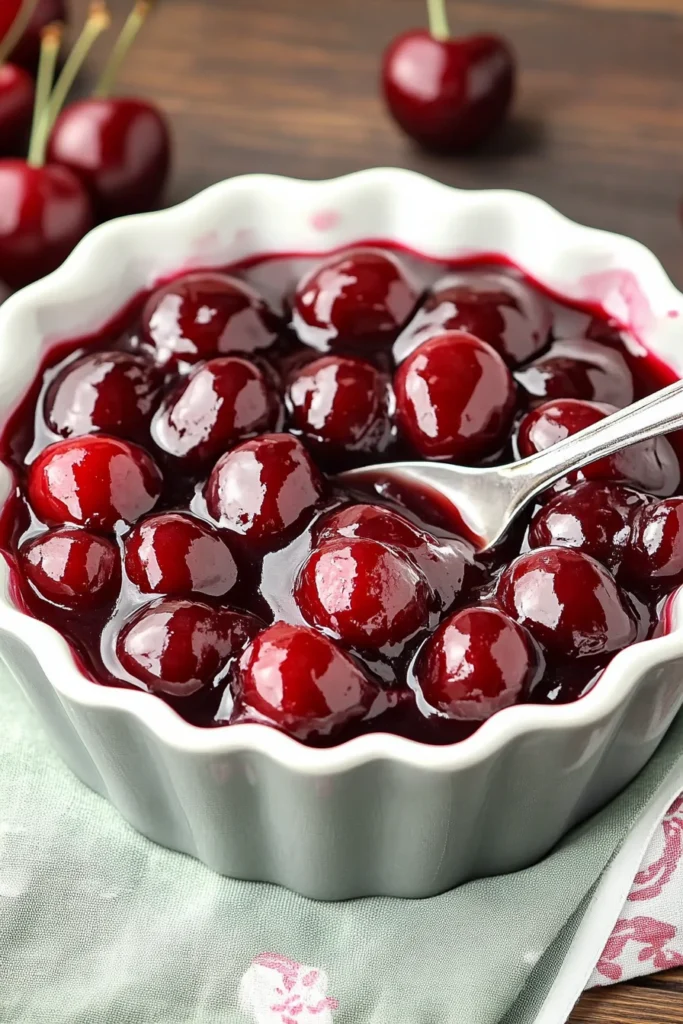
You’re going to love this one—imagine the burst of vibrant cherries, the silky jam-like texture, and that glossy, sweet-and-tangy finish dancing on your taste buds. That’s exactly what you get with this homemade cherry pie filling, a rich, gooey mixture that’s everything a pie lover dreams of. With just five simple ingredients—cherries, sugar, lemon juice, cornstarch, and a dash of cinnamon—this homemade cherry pie filling brings pure flavor without the preservatives. Whether you’re spooning it over cheesecake, layering it into turnovers, or baking a classic cherry pie from scratch, this all-natural treat is your new go-to. Ditch the cans for good and experience what real homemade cherry pie filling should taste like. And the reviews don’t lie: “Tastes better than anything in a can—hands down!” one happy home baker raves.
In This Guide
Why Make Homemade Cherry Pie Filling?
Let’s face it—store-bought cherry pie filling can’t hold a candle to the homemade cherry pie filling. When you make it yourself, you control the sweetness, skip the preservatives, and tailor every bite to your flavor preferences. This DIY homemade cherry pie filling uses only natural pie filling ingredients that let the rich cherry flavor truly shine. Plus, it’s freezer-friendly and quick to prepare, making it an ideal solution for busy home cooks. Whether you’re crafting a cherry pie from scratch, spooning this luscious filling over cheesecake, or tucking it into a warm Danish, homemade cherry pie filling proves again and again why it’s the better choice.
Want more inspiration for using cherries in baking? Join our baking community on Facebook and discover creative ideas shared daily!
Homemade Cherry Pie Filling Ingredients and Substitutions
This easy cherry pie filling recipe comes together with just a handful of pantry staples:
- Cherries: Use 4 cups (about 616g) of fresh or frozen pitted cherries. Tart cherries give a tangy punch, while sweet cherries create a mellow, sugary base.
- Granulated Sugar: Sweetens the filling and helps form the syrupy sauce. Use less if using sweet cherries.
- Lemon Juice: Adds brightness and balances the sugar.
- Cornstarch: Acts as the cornstarch thickener for that jammy, spoonable texture. Swap with arrowroot powder if needed.
- Cinnamon (optional): A pinch adds warmth and depth. You can also use vanilla or almond extract for added nuance.
How to Make Homemade Cherry Pie Filling
This cherry pie filling tutorial is foolproof—perfect for beginners and seasoned bakers alike.
Step-by-Step Instructions:
- Prep the Cherries: If using fresh cherries, stem and pit them using a paperclip or cherry pitter. If frozen, thaw in the fridge or at room temperature in a single layer.
- Combine Ingredients: In a medium saucepan, mix cherries, sugar, lemon juice, cornstarch, and cinnamon (if using). Add 2–4 tablespoons of water if cherries are not very juicy.
- Simmer and Stir: Cook over medium heat, stirring often, until the mixture starts to bubble and thicken. This takes about 8–10 minutes.
- Check Consistency: The filling should be glossy and thick, coating the back of a spoon.
- Cool: Let it cool completely before using or storing.
Tips and Tricks for Perfect Homemade Cherry Pie Filling
- Cherry Pitting Hack: No cherry pitter? Use a paperclip! It’s quick, budget-friendly, and surprisingly effective.
- Using Frozen Cherries: No need to thaw completely—just add a bit more cornstarch or simmer longer to reduce excess moisture.
- Perfect Texture: For that dreamy, jammy cherry texture, cook the filling until it just holds its shape when spooned.
Homemade Cherry Pie Filling Variations You’ll Love
Ready to mix things up? Try these delicious tweaks:
- Spices: Add nutmeg, ginger, chai spice, or even pumpkin pie spice for a seasonal twist.
- Extracts: Stir in ¼ to ½ teaspoon of vanilla or almond extract for an aromatic upgrade.
- Diet-Friendly: Use less sugar or a low-glycemic sweetener for a low sugar cherry pie filling. Swap cornstarch with a gluten-free alternative for a gluten-free cherry filling.
Storage and Preservation
This filling isn’t just delicious—it’s practical too:
- Refrigerate: Store in a sealed jar or container for up to 5 days.
- Freeze: Transfer to a freezer-safe cherry filling container and freeze for up to 3 months.
- To Use: Let thaw overnight in the fridge. Reheat gently to restore the original thickness.
Frequently Asked Questions
Why isn’t my filling thickening?
Not enough cornstarch or undercooked. Keep simmering until it thickens properly.
Can I use canned cherries?
Yes, but drain well and reduce added sugar.
How do I make it gluten-free?
Use arrowroot powder instead of cornstarch—it thickens beautifully without gluten.
Recommended Recipes
This cherry pie filling is the secret star behind so many irresistible desserts:
- Try it in our easy cherry pie bars recipe
- Spoon it over fresh cherry sorbet for a sweet contrast
- Swirl it into a lemon lime cherry pistachio cheesecake
- Or stuff it into cherry cobbler muffins for a surprise center
Call to Action
- Pin this recipe and explore more on Pinterest
- Follow us on Facebook for more homemade pie inspiration
- Discover more cherry dessert ideas on our Pinterest boards

Homemade Cherry Pie Filling: Your Ultimate DIY Fruit Delight
- Total Time: 20 minutes
- Yield: 1 pie (about 2 ½ cups) 1x
- Diet: Vegetarian
Description
You’re going to love this one—imagine the burst of vibrant cherries, the silky jam-like texture, and that glossy, sweet-and-tangy finish dancing on your taste buds. That’s exactly what you get with this homemade cherry pie filling. Made with just five simple ingredients—cherries, sugar, lemon juice, cornstarch, and a dash of cinnamon—this rich, gooey mixture is everything a pie lover dreams of. Whether you’re topping your cheesecake or filling a flaky crust, this all-natural pie filling makes it easy to ditch the can for good.
Ingredients
- 4 cups (616g) pitted cherries (fresh or thawed frozen)
- ⅔ to 1 cup granulated sugar (adjust based on cherry sweetness)
- 2 tablespoons lemon juice
- 4 tablespoons cornstarch
- ¼ teaspoon ground cinnamon (optional)
- 2–4 tablespoons water (optional)
Instructions
- Combine all ingredients in a saucepan.
- Simmer on medium heat, stirring until thick and glossy (8–10 minutes).
- Cool and store, or use immediately.
- Optional Pie Assembly: Pour filling into a prepared crust.
- Cover with a second crust, cut slits, and sprinkle with sugar.
- Bake at 375°F (190°C) for 45–50 minutes.
Notes
Store in the fridge for up to 5 days or freeze for up to 3 months. Reheat gently to restore thickness before using.
- Prep Time: 10 minutes
- Cook Time: 10 minutes
- Category: Dessert
- Method: Stovetop
- Cuisine: American
Nutrition
- Serving Size: ¼ cup
- Calories: 110
- Sugar: 18g
- Sodium: 2mg
- Fat: 0g
- Saturated Fat: 0g
- Unsaturated Fat: 0g
- Trans Fat: 0g
- Carbohydrates: 28g
- Fiber: 1g
- Protein: 0g
- Cholesterol: 0mg

