As I pulled my favorite sweater from the closet this morning, I could feel fall calling. Cooler days mean cozy baking, and nothing captures that simple, warm feeling like pumpkin dump cake. The aroma alone is comforting. It’s easy, delicious, and perfect for those evenings when you just want something sweet with almost no effort.
Table of Contents
Pumpkin Dump Cake — Easy Fall Dessert
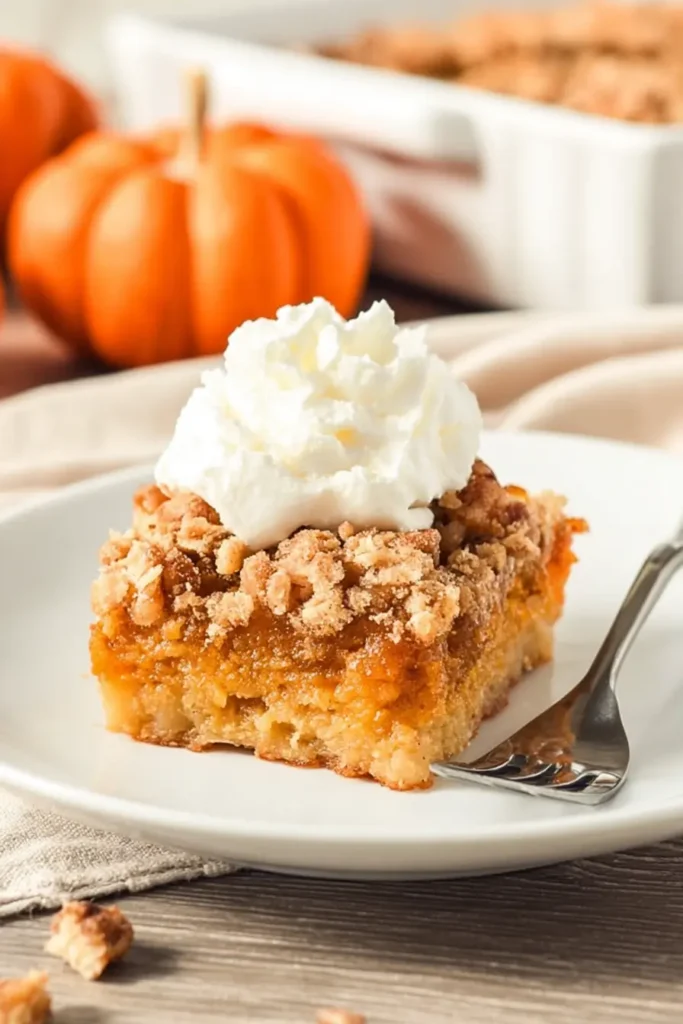
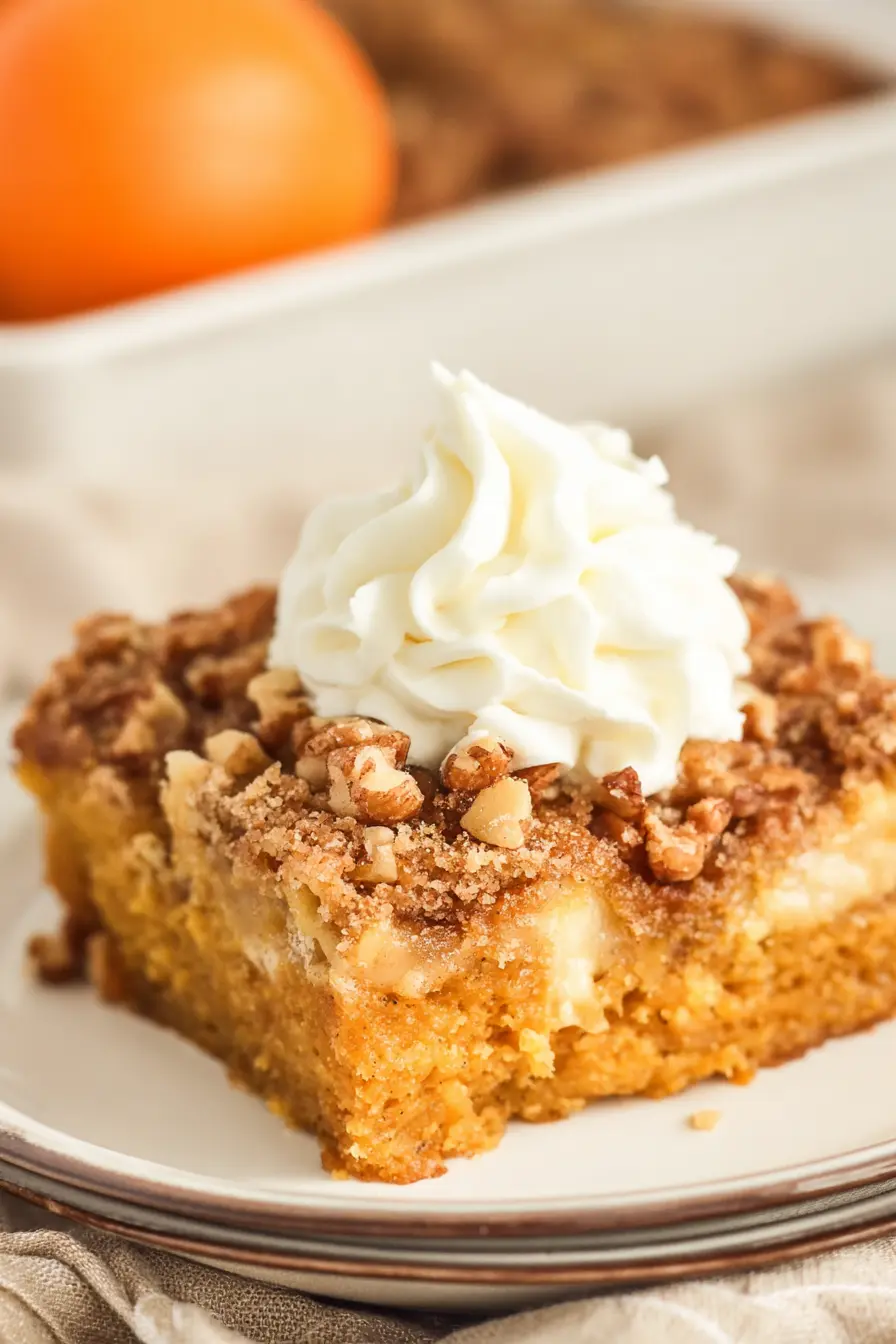
Pumpkin dump cake is a simple, cozy dessert that feels like fall in every bite. It combines creamy pumpkin pie filling with buttery cake and crunchy nuts on top. It’s called a “dump” cake because you just mix, dump, and bake — no fancy steps. Plus, it pairs perfectly with ice cream or whipped cream. You’ll love how easy it is and how great your kitchen smells while it bakes.
Ingredients for Pumpkin Dump Cake
You only need a few easy ingredients for this comforting dessert. Keep these pantry staples handy, and you can whip this up anytime:
- 30 oz pumpkin puree (not pumpkin pie filling)
- 12 oz evaporated milk
- 4 large eggs
- 1 ½ cups granulated sugar
- 2 tsp ground cinnamon
- 2 tsp pumpkin pie spice
- 1 box yellow cake mix
- 1 cup salted butter
- 1 cup chopped walnuts or pecans
- Whipped cream or vanilla ice cream for serving
How to Make Pumpkin Dump Cake
Step 1 — Prepare the pumpkin base
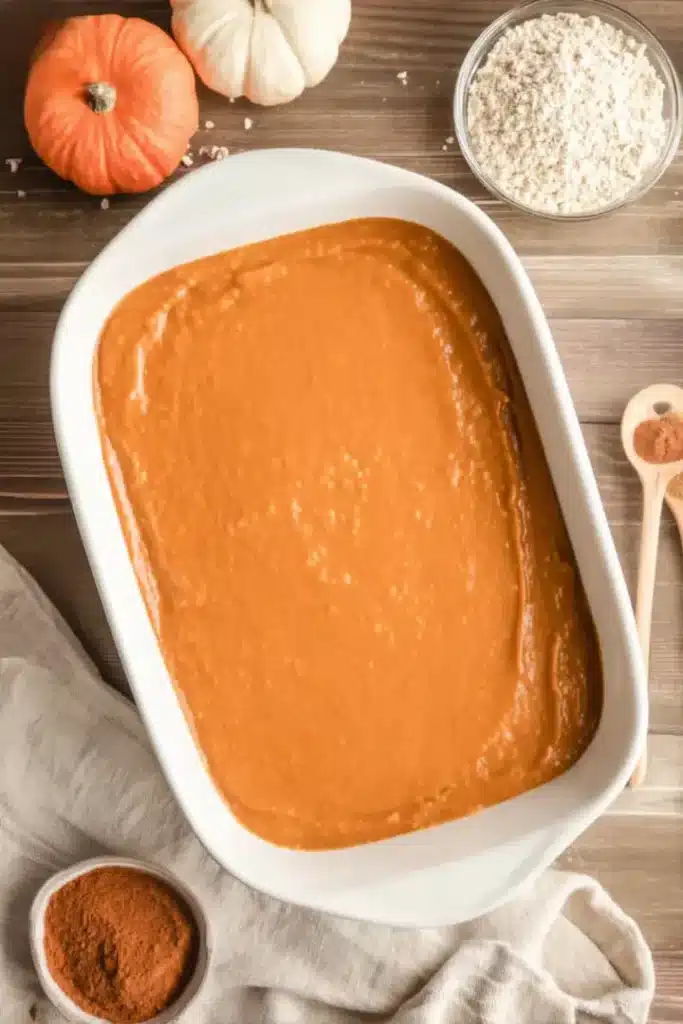
First, preheat your oven to 350°F. Grease a 9×13-inch baking dish so nothing sticks. In a large bowl, whisk together the pumpkin puree, evaporated milk, eggs, sugar, cinnamon, and pumpkin pie spice. Pour this smooth, fragrant mixture into the prepared dish.
Step 2 — Add dry cake mix and toppings
Next, sprinkle the dry cake mix evenly over the pumpkin mixture. You can also dust a little extra pumpkin pie spice for warmth. Melt your butter and pour it evenly over the top, or for a crunchier finish, slice cold butter and place the slices over the cake mix. Then sprinkle the chopped nuts across the top.
Step 3 — Bake and cool before serving
Place the dish in the oven and bake for about 1 hour. The top should look golden and crisp. Let the cake rest for 20–30 minutes so it sets properly before slicing. Serve it warm, topped with whipped cream or a scoop of vanilla ice cream for extra indulgence.

Tips, Variations, and Substitutions
Easy flavor variations
You can swap the yellow cake mix with spice cake or even chocolate cake mix for a different twist. The spice cake adds even more autumn flavor, while chocolate makes it richer.
Gluten-free option
Just use a gluten-free cake mix for an easy substitution. The result will still be soft, sweet, and comforting.
Tips for a crunchy topping
If you prefer extra crunch, arrange thin slices of cold butter on top instead of pouring melted butter. You can even sprinkle toffee bits with the nuts for more texture.
Serving Suggestions
This dessert is best enjoyed warm. After baking, let it rest for about 20–30 minutes before serving so the layers set beautifully. Top each slice with a scoop of vanilla ice cream or a big dollop of whipped cream. A drizzle of caramel sauce makes it even more special.

Storage and Reheating Instructions
You can store leftover pumpkin dump cake covered at room temperature for a couple of days. If you prefer, refrigerate it for up to 3–4 days. When you’re ready to enjoy it again, just reheat individual portions in the microwave for 15–30 seconds until warm.
Pumpkin Dump Cake Recipe
Print
Pumpkin Dump Cake Recipe Article
- Total Time: 70 mins
- Yield: 12 servings 1x
Description
A cozy, easy dessert that captures fall flavors perfectly. Warm pumpkin base with buttery cake topping and crunchy nuts.
Ingredients
30 oz pumpkin puree
12 oz evaporated milk
4 large eggs
1 ½ cups granulated sugar
2 tsp ground cinnamon
2 tsp pumpkin pie spice
1 box yellow cake mix
1 cup salted butter
1 cup chopped walnuts or pecans
Whipped cream for serving
Vanilla ice cream for serving
Instructions
1. Preheat oven to 350°F and grease 9×13-inch baking dish.
2. Mix pumpkin puree, evaporated milk, eggs, sugar, cinnamon, and pumpkin pie spice in a large bowl.
3. Pour pumpkin mixture into the prepared dish.
4. Evenly sprinkle dry cake mix over pumpkin mixture.
5. Optionally sprinkle extra pumpkin pie spice.
6. Melt butter and pour over cake mix or slice cold butter and arrange on top for extra crunch.
7. Sprinkle chopped nuts evenly over the top.
8. Bake for about 1 hour until golden and set.
9. Let rest 20-30 minutes before serving.
10. Serve warm with whipped cream or vanilla ice cream.
Notes
Use pumpkin puree not pumpkin pie filling.
Cake mix is added dry.
Can substitute chocolate or spice cake mix.
For gluten-free option use gluten-free cake mix.
For extra crunch use sliced cold butter instead of melted.
Sprinkle toffee bits for a variation.
- Prep Time: 10 mins
- Cook Time: 60 mins
- Category: Dessert
- Method: Baking
- Cuisine: American
Nutrition
- Serving Size: 1 slice
- Calories: 230
- Sugar: 29g
- Sodium: 223mg
- Fat: 6g
- Saturated Fat: 1g
- Carbohydrates: 42g
- Fiber: 1g
- Protein: 3g
- Cholesterol: 36mg
More Such Recipes
If you love this, you might also enjoy my easy pumpkin carrot cake recipe — it’s moist and lightly spiced. Or try pumpkin french toast casserole for a perfect fall brunch. If cookies are your thing, bake a batch of soft pumpkin snickerdoodles. For loaf cakes, don’t miss my chocolate chip pumpkin bread, pumpkin cheesecake bars, and pumpkin pie bars.
You can also check out what we’re pinning on Pinterest or join us on Facebook for more kitchen inspiration.
FAQ about Pumpkin Dump Cake
What is pumpkin dump cake?
Pumpkin dump cake is a simple dessert where you “dump” ingredients into a dish and bake. It has a creamy pumpkin pie filling topped with buttery cake and crunchy nuts.
What is in a dump cake?
A dump cake usually has fruit or pie filling, a boxed cake mix, butter, and sometimes nuts. It’s designed to be quick and easy.
Why do they call it dump cake?
It gets the name because there’s no mixing bowl needed for the topping — you simply dump everything into the baking dish.
What is the biggest mistake to avoid when making a dump cake?
The biggest mistake is using pumpkin pie filling instead of pumpkin puree. Also, don’t overmix the layers; they’re meant to stay separate for the best texture.

