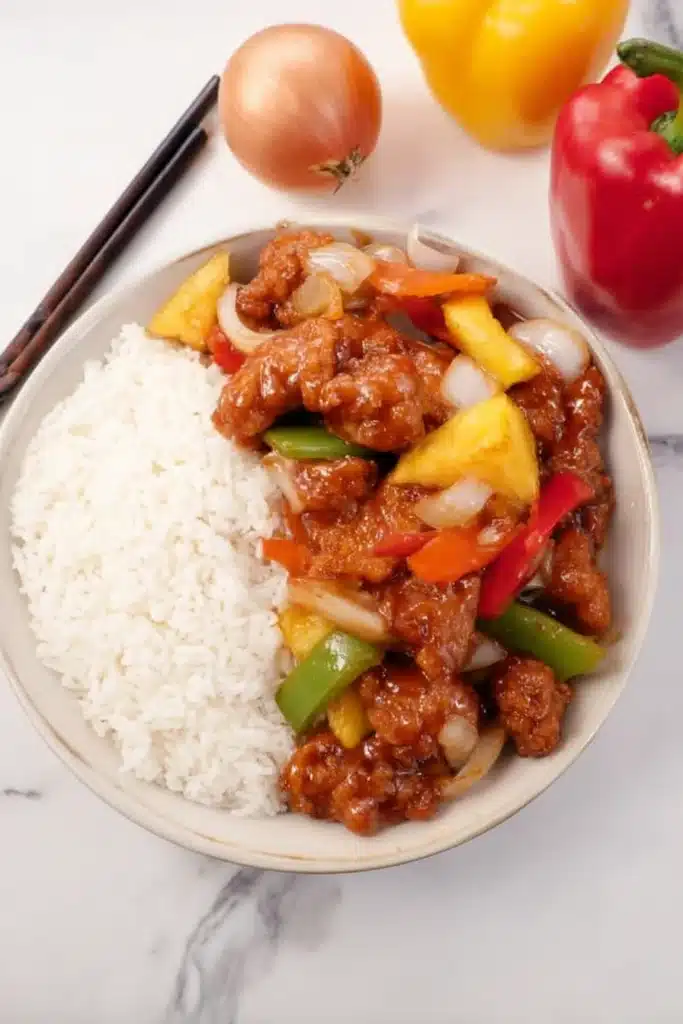
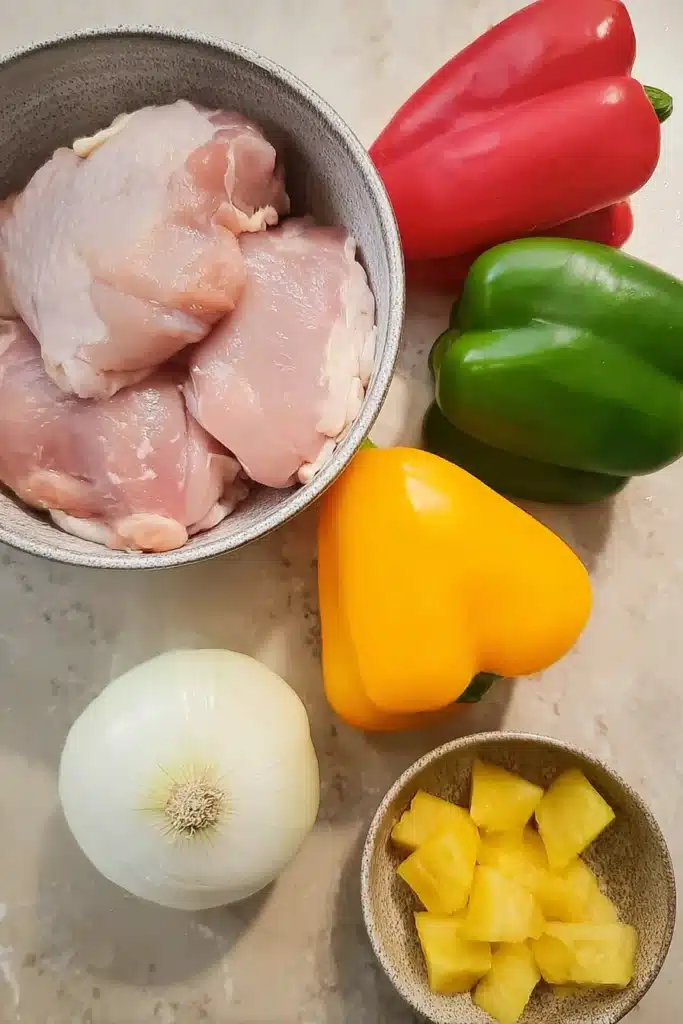
It started as one of those “just throw something together” weeknights. I had a few bell peppers, some thawed chicken thighs, and half a can of pineapple from a kid’s snack. Forty-five minutes later, we were licking sweet and tangy sauce off our forks, wondering why we ever ordered takeout in the first place. This sweet and sour chicken recipe is everything we crave—crispy, glossy, and packed with bright flavor.
Table of Contents
Ingredients You’ll Need
Here’s what you’ll need for this quick and comforting classic:
Chicken & Marinade:
- 1 lb boneless, skinless chicken thighs (cut into 2″ pieces)
- 2 tbsp low-sodium soy sauce
- 1/2 tsp kosher salt
- 1/4 tsp white pepper (or black pepper)
- 1 egg
- 2 tbsp all-purpose flour
Sauce:
- 1/2 cup chicken stock
- 1/4 cup ketchup
- 3 tbsp brown sugar
- 2 tbsp distilled white vinegar (or rice/apple cider vinegar)
- 1/2 tbsp cornstarch
Dry Dredge:
- 1/2 cup flour
- 1/2 cup cornstarch
- 1/2 tbsp kosher salt
- 1 tsp white pepper
- 1 tsp baking powder
Vegetables:
- 3 cups mixed bell peppers (red, yellow, green), cut into chunks
- 1/2 onion, chopped
- 1/2 cup pineapple (fresh or drained canned)
Other:
- Neutral oil (for frying)
You can easily swap in chicken breast, but keep a close eye on doneness—breast dries quicker than thighs.

How to Make Sweet and Sour Chicken
Step 1 – Cut and Marinate the Chicken
Slice chicken thighs into even 2-inch pieces. This helps them cook evenly and crisp up better. In a bowl, combine soy sauce, salt, white pepper, egg, and 2 tablespoons of flour. Toss the chicken well and let it marinate for 20 minutes while you prep the rest.

Step 2 – Mix the Sweet and Sour Sauce
In a small bowl or measuring cup, whisk together ketchup, brown sugar, vinegar, chicken stock, and cornstarch. This sauce will thicken beautifully later—just keep it nearby for when the wok gets hot.
Step 3 – Dredge the Chicken
Mix up your dry dredge: flour, cornstarch, salt, pepper, and baking powder. Drain the chicken slightly, then press each piece firmly into the dry mix. You want the coating to stick well. This is where that extra crunch comes from.
Step 4 – Fry the Chicken Twice
Heat your oil to 350°F. Fry the chicken in batches—don’t crowd the pan. First fry: 3–4 minutes, until light golden. Let it rest. Then raise the oil back to 350°F and give it a quick second fry for 1–2 minutes. This second fry is where the magic happens.
Step 5 – Stir-Fry Vegetables and Pineapple
Heat a bit of neutral oil in a wok or large pan. Stir-fry your chopped bell peppers and onion for about a minute—just enough to brighten them up without softening too much. Add the pineapple and stir for another 30 seconds.
Step 6 – Combine Everything and Finish
Give your sauce a stir, then pour it into the hot wok. It should thicken quickly as it hits the heat. Once it’s glossy and bubbling, add the crispy chicken. Toss everything together until coated in that sweet and tangy glaze. Serve hot.

Pro Tips for Perfect Results
- Cut chicken evenly for consistent cooking
- Press the dry dredge into the chicken for full crisp coverage
- Use a thermometer to keep oil at 350°F
- Premix the sauce so you’re not fumbling at the stove
- Keep everything prepped and nearby for fast wok work
Storage and Reheating Tips
This dish stores well for up to 4 days in an airtight container. For best texture, reheat in a hot pan or wok. The microwave works too, but it softens the crispy coating.
What to Serve with Sweet and Sour Chicken
We usually enjoy this with steamed jasmine rice or something heartier like Chicken Fried Rice. It also pairs well with:
- Egg rolls
- Shrimp or chicken lo mein
- Egg drop soup
- Hot and sour soup
You could even serve it alongside Garlic Brown Sugar Chicken for a dinner party-style spread.
Wok vs. Pan: What’s Best?
A wok is ideal for the high heat and fast stir-fry method this dish needs. But if you don’t have one, a cast iron skillet or heavy-bottomed pan will work. Just don’t crowd the ingredients. Give everything space to sear.
More Such Recipes
Craving more sticky-sweet takeout-style flavors? Try these next:
- Crispy Sweet Chili Chicken – An Easy Weeknight Asian-Inspired Dish
- Air Fryer Chicken Thighs with Panko – Crunchy and Quick
- Baked Teriyaki Salmon – A Sweet and Savory Family Favorite

Sweet and Sour Chicken Recipe Card
Print
Sweet and Sour Chicken Recipe | Crispy, Tangy, Amazing
- Total Time: 45 minutes
- Yield: 3 servings 1x
Description
Crispy, saucy, and bursting with flavor, this sweet and sour chicken recipe brings takeout-style comfort home in just 45 minutes.
Ingredients
1 lb boneless, skinless chicken thighs, cut into 2″ pieces
2 tbsp low-sodium soy sauce
1/2 tsp kosher salt
1/4 tsp white pepper (or black pepper)
1 egg
2 tbsp all-purpose flour
1/2 cup chicken stock
1/4 cup ketchup
3 tbsp brown sugar
2 tbsp distilled white vinegar (or rice/apple cider vinegar)
1/2 tbsp cornstarch
1/2 cup all-purpose flour (dry dredge)
1/2 cup cornstarch (dry dredge)
1/2 tbsp kosher salt (dry dredge)
1 tsp white pepper (dry dredge)
1 tsp baking powder (dry dredge)
Neutral oil for frying
3 cups bell peppers (red, yellow, green), cut into 2″ pieces
1/2 onion, cut into 2″ pieces
1/2 cup pineapple, cut into 2″ pieces
Instructions
1. Cut chicken into uniform 2″ pieces.
2. Marinate chicken with soy sauce, salt, pepper, egg, and flour for 20 minutes.
3. Mix sauce: ketchup, brown sugar, vinegar, chicken stock, cornstarch.
4. Prepare dry dredge: flour, cornstarch, salt, pepper, baking powder.
5. Dredge marinated chicken thoroughly in dry mix.
6. Heat oil to 350°F. Fry chicken in batches for 3–4 mins.
7. Raise oil back to 350°F, double fry for 1–2 mins until golden and crispy.
8. Stir-fry bell peppers and onion in neutral oil for 1 min.
9. Add pineapple, cook 30 seconds more.
10. Add premixed sauce, stir until thickened.
11. Add chicken, toss to coat. Serve hot.
Notes
Use chicken breast if you prefer, but shorten cooking time.
Premix your sauce ahead to save time during cooking.
Avoid crowding the pan during frying to maintain crispiness.
Reheat leftovers in a hot pan or wok for best texture.
- Prep Time: 30 minutes
- Cook Time: 15 minutes
- Category: Chicken Recipes
- Method: Frying
- Cuisine: Asian
Nutrition
- Serving Size: 1 serving
- Calories: 663
- Sugar: 26g
- Sodium: 2023mg
- Fat: 27g
- Saturated Fat: 7g
- Unsaturated Fat: 17g
- Trans Fat: 0.1g
- Carbohydrates: 73g
- Fiber: 5g
- Protein: 31g
- Cholesterol: 203mg
Final Thoughts
This sweet and sour chicken recipe really hits the sweet spot—crispy on the outside, tender inside, and full of flavor. It’s one of those meals that feels like a treat but comes together fast. If you give it a try, let me know how it turns out. Share your questions or tweaks—I love hearing how these dishes land in real kitchens.
You can also follow along for more recipes on Pinterest or Facebook.

FAQ
Can I use chicken breast instead of thighs?
Yes, but reduce the cooking time slightly to avoid drying out the meat. Breast cooks faster, especially during frying.
Can this recipe be made in an air fryer?
Absolutely. Just coat the chicken thoroughly and air fry at 400°F for 12–15 minutes. Shake the basket halfway through.
How do I make this less sweet?
Cut back the brown sugar by 1 tablespoon. You can also add a bit more vinegar to increase the tang.

