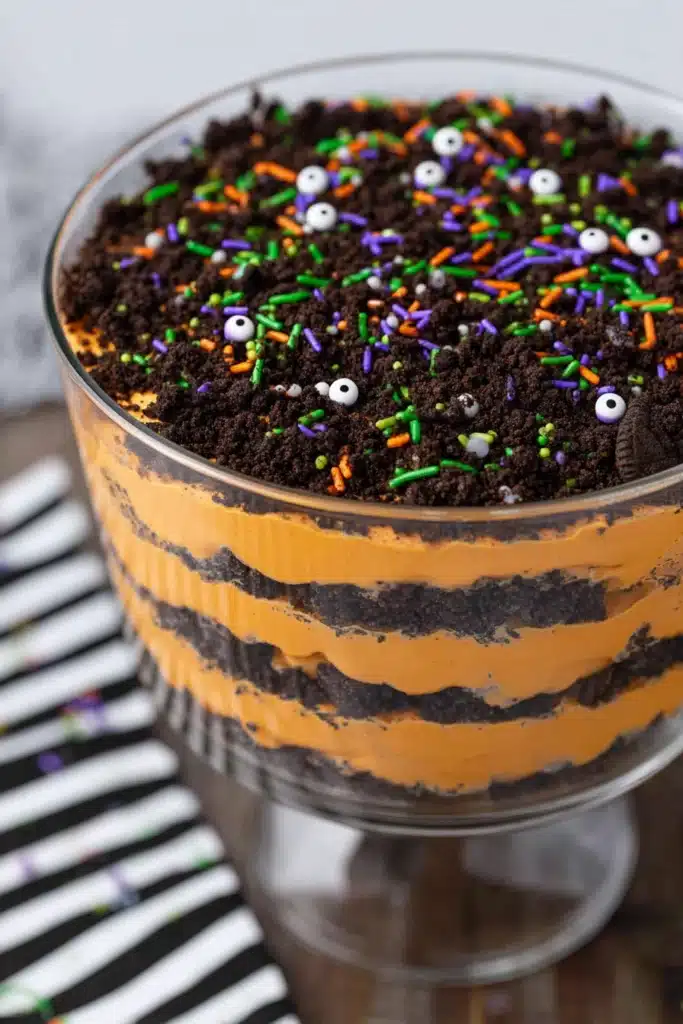
You know that moment in October when the kids are on a sugar high and you’re trying to keep things fun but not chaotic? This Halloween Oreo Dirt Cake saved my sanity at our last neighborhood party. It’s no-bake, super creamy, and topped with candy pumpkins that somehow disappeared before the guests even arrived. You’ll love how easy it is.
Table of Contents
Why You’ll Love This Halloween Oreo Dirt Cake
First off, this is a no-bake dessert, which means no oven and no fuss. You can prep it in just 20 minutes and stash it in the fridge until party time.
It’s also incredibly kid-friendly. Not just in flavor but in fun. Kids love the crushed “dirt,” and decorating with gummy worms or candy bones becomes part of the activity.
Also, this cake is customizable. Swap out the orange coloring for green on St. Patrick’s Day or pastel purple for Easter. It adapts to any holiday vibe.
Lastly, this is a make-ahead dream. The longer it chills, the better the layers meld together. That’s a win for any busy host juggling a dozen other things.
Ingredients You’ll Need
- Halloween Oreos (1 to 1½ packs) – Their orange filling is perfect, but regular Oreos work too
- Instant vanilla pudding (2 packages, 3.4 oz each) – Sets up quickly
- Whole milk (3¼ cups) – Makes the pudding rich and smooth
- Unsalted butter (½ cup) – Softened to blend easily
- Cream cheese (8 oz) – Full-fat works best for texture
- Powdered sugar (1 cup) – Sweetens the cream cheese layer
- Vanilla extract (1 tsp) – Adds warm flavor
- Cool Whip (8 oz) – Thawed for easy folding
- Orange food coloring – Or mix red and yellow
- Halloween sprinkles – Optional but festive
- Toppings – Gummy worms, candy pumpkins, candy corn (let the kids help!)
Step-by-Step Instructions
Step 1 – Crush the Oreos
Use a food processor or place them in a zip-top bag and smash with a rolling pin. Crush about ¾ into fine crumbs, then break the rest into coarse chunks for texture. Set aside.
Step 2 – Prepare the Pudding Mixture
In a large bowl, whisk together the pudding mix and milk for 2 minutes. It should thicken slightly. Place in the fridge for 5 minutes to set.
Step 3 – Make the Cream Cheese Layer
In another bowl, beat the softened butter, cream cheese, and powdered sugar until it’s creamy and lump-free. This step matters—don’t rush it.
Step 4 – Fold in Whipped Topping & Color
Add the chilled pudding to your cream cheese mixture and beat until smooth. Gently fold in the Cool Whip, vanilla extract, and a few drops of orange food coloring. Stir until the color looks just right.
Step 5 – Layer the Dirt Cake
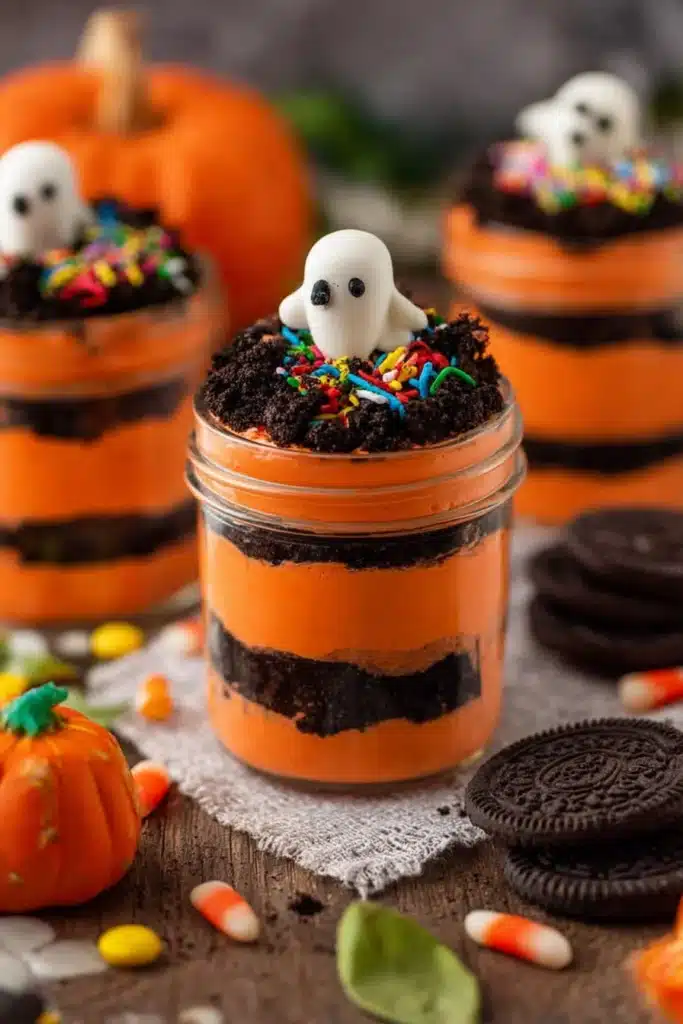
In a clear trifle dish or 9×13 pan, start layering:
- Bottom: ⅓ of the crushed Oreos
- Middle: ½ of the orange filling
- Next: Another ⅓ of Oreos
- Then: The rest of the filling
- Top: Final layer of Oreos
Use a spoon to smooth each layer. Don’t stress if it’s not perfect—it’s meant to look like “dirt.”
Step 6 – Add Toppings & Chill
Top with Halloween sprinkles, gummy worms, or candy pumpkins. Cover and chill for at least 2 hours—overnight is even better.
Serving Ideas and Variations
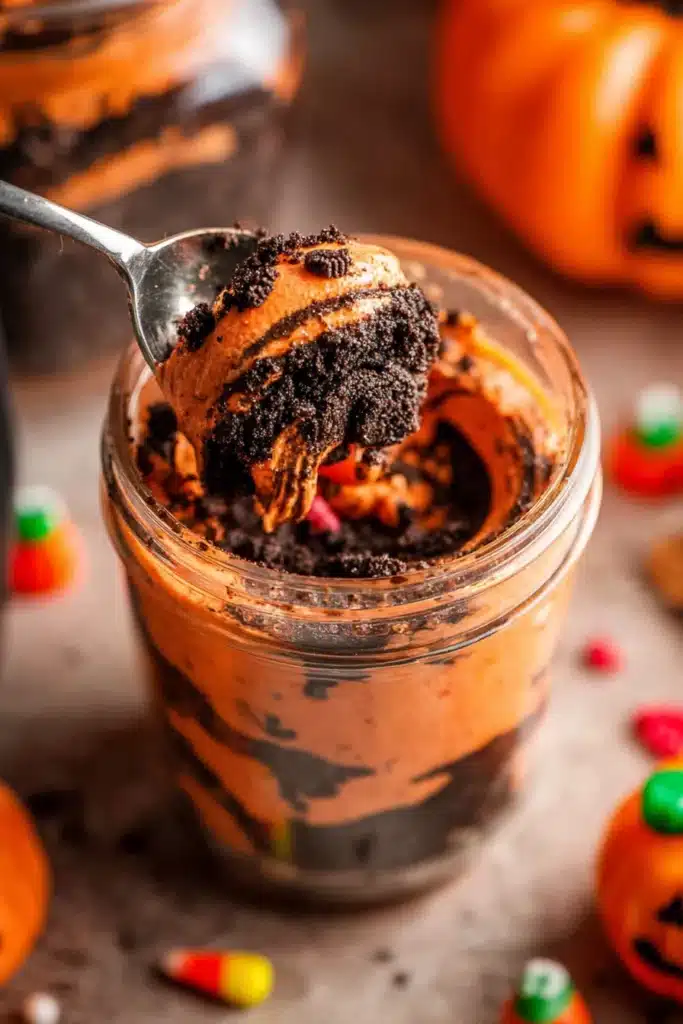
Try individual cups or jars for easy grab-and-go servings. They’re especially great for school events or parties.
Want a cleaner look? Use a 9×13-inch pan for flat, neat slices.
You can also play with color. Think red and green for Christmas or pastel layers for a springtime twist.
Expert Tips & Recipe Notes
- Best way to crush Oreos: A food processor gives you fine crumbs fast, but a rolling pin works in a pinch. Just seal the bag tight.
- Chill time matters: At least 2 hours is good, but 6+ hours brings out the flavor and texture.
- Make-ahead: This dessert keeps well in the fridge for up to 3 days.
- Swaps: Use regular Oreos if the seasonal ones aren’t available. Want to skip Cool Whip? Use homemade whipped cream instead.
Frequently Asked Questions (FAQ)
What does dirt cake Oreos taste like?
It’s rich, creamy, and sweet. The crushed Oreos mimic a soft cookie crust, and the pudding-Cool Whip combo adds a light mousse-like texture. The Halloween version brings a subtle vanilla-orange twist.
Why is it called dirt cake?
Because the crushed Oreos look just like potting soil! Add a few gummy worms or candy pumpkins, and it turns into a cute edible garden or spooky graveyard.
What is the graveyard dessert for Halloween?
This is it! Halloween Oreo Dirt Cake is often dressed up as a graveyard with cookie tombstones, candy bones, and creepy critters on top.
How long does Oreo dirt cake last?
It keeps well in the fridge for 3 to 4 days. Just cover it tightly so it doesn’t dry out.
What do I need for dirt cake?
At its core: Oreos, instant pudding, milk, cream cheese, butter, powdered sugar, Cool Whip, and whatever toppings you like. Add food coloring to match the holiday or theme.
Halloween Oreo Dirt Cake Recipe Card
Print
Halloween Oreo Dirt Cake – Easy & Fun Party Favorite
- Total Time: 20 minutes
- Yield: Approximately 12 servings 1x
Description
No-bake, creamy, and topped with Halloween candy, this Oreo dirt cake is the ultimate festive treat. Quick to assemble and fun to decorate.
Ingredients
1 to 1½ packages Halloween Oreos (20 oz)
2 packages instant vanilla pudding (3.4 oz each)
3¼ cups whole milk
½ cup unsalted butter, softened
8 oz full-fat cream cheese, softened
1 cup powdered sugar
1 tsp vanilla extract
8 oz Cool Whip, thawed
Orange food coloring (or mix red and yellow)
Halloween sprinkles (optional)
Optional toppings: gummy worms, candy pumpkins, candy corn
Instructions
1. Crush ¾ of the Oreos into fine crumbs, and the remaining into coarse chunks; combine and set aside.
2. Whisk milk and pudding for 2 minutes until smooth. Chill in the fridge for 5 minutes.
3. Beat softened butter, cream cheese, and powdered sugar until smooth.
4. Add chilled pudding to the cream cheese mixture and beat until well combined.
5. Fold in Cool Whip, vanilla extract, and food coloring until mixture turns orange and smooth.
6. Layer in a dish: ⅓ Oreos, ½ pudding mix, another ⅓ Oreos, remaining pudding, and top with final layer of Oreos.
7. Sprinkle on candy toppings and Halloween sprinkles.
8. Chill for 2–24 hours before serving.
Notes
You can prepare this dessert up to 24 hours in advance.
Regular Oreos work just fine if you can’t find Halloween ones.
Try serving in jars or cups for a fun, portable option.
Adjust food coloring or candy toppings to match other holidays.
- Prep Time: 20 minutes
- Category: Halloween Recipes
- Method: No-bake
- Cuisine: American
Nutrition
- Serving Size: 1 slice
- Calories: 441
- Sugar: 34
- Sodium: 367
- Fat: 26
- Saturated Fat: 13
- Carbohydrates: 49
- Fiber: 1
- Protein: 6
- Cholesterol: 51
More Such Recipes
If you’re building a spooky dessert table, pair this cake with Easy Cauldron Cookies for Halloween Parties. Or try something chocolaty like these Spooky Halloween Spiderweb Brownies.
For a gluten-free crowd, don’t miss these Fun and Festive Mummy Brownies (Gluten-Free).
And for another dirt cake twist, check out The Best Oreo Dirt Cake Recipe for year-round ideas.
Final Thoughts
This Halloween Oreo Dirt Cake is more than a dessert—it’s a centerpiece. It’s easy, fun, and totally customizable. Whether you’re hosting a party or just hanging with the kids, this no-bake treat delivers joy in every bite.
Decorate it, share it, and don’t forget to snap a photo for your friends over at Pinterest or tag us on Facebook.
