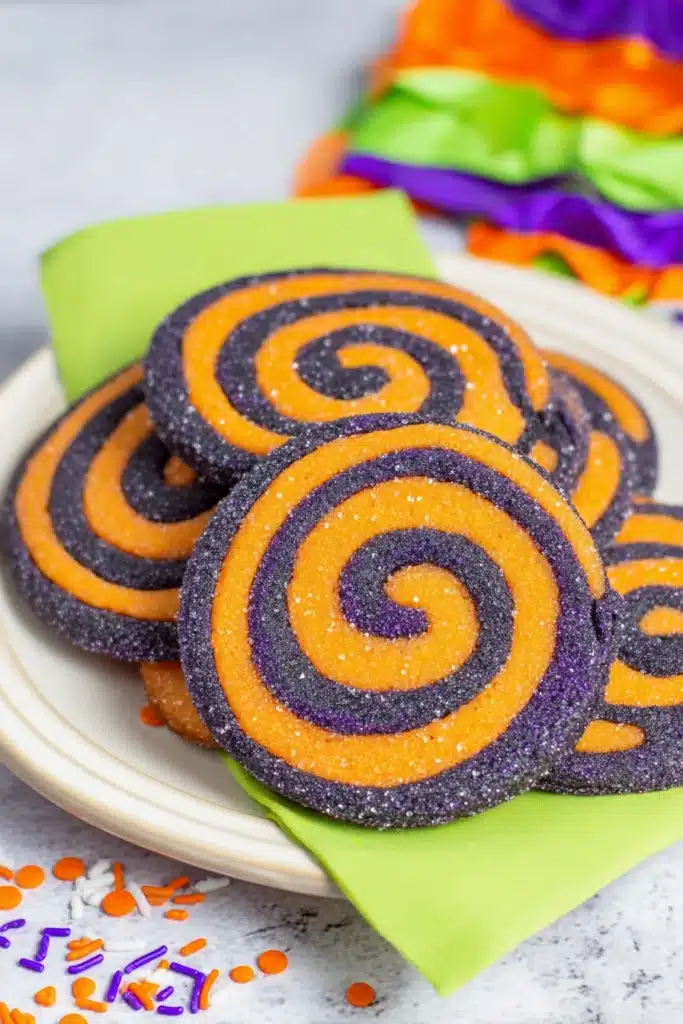
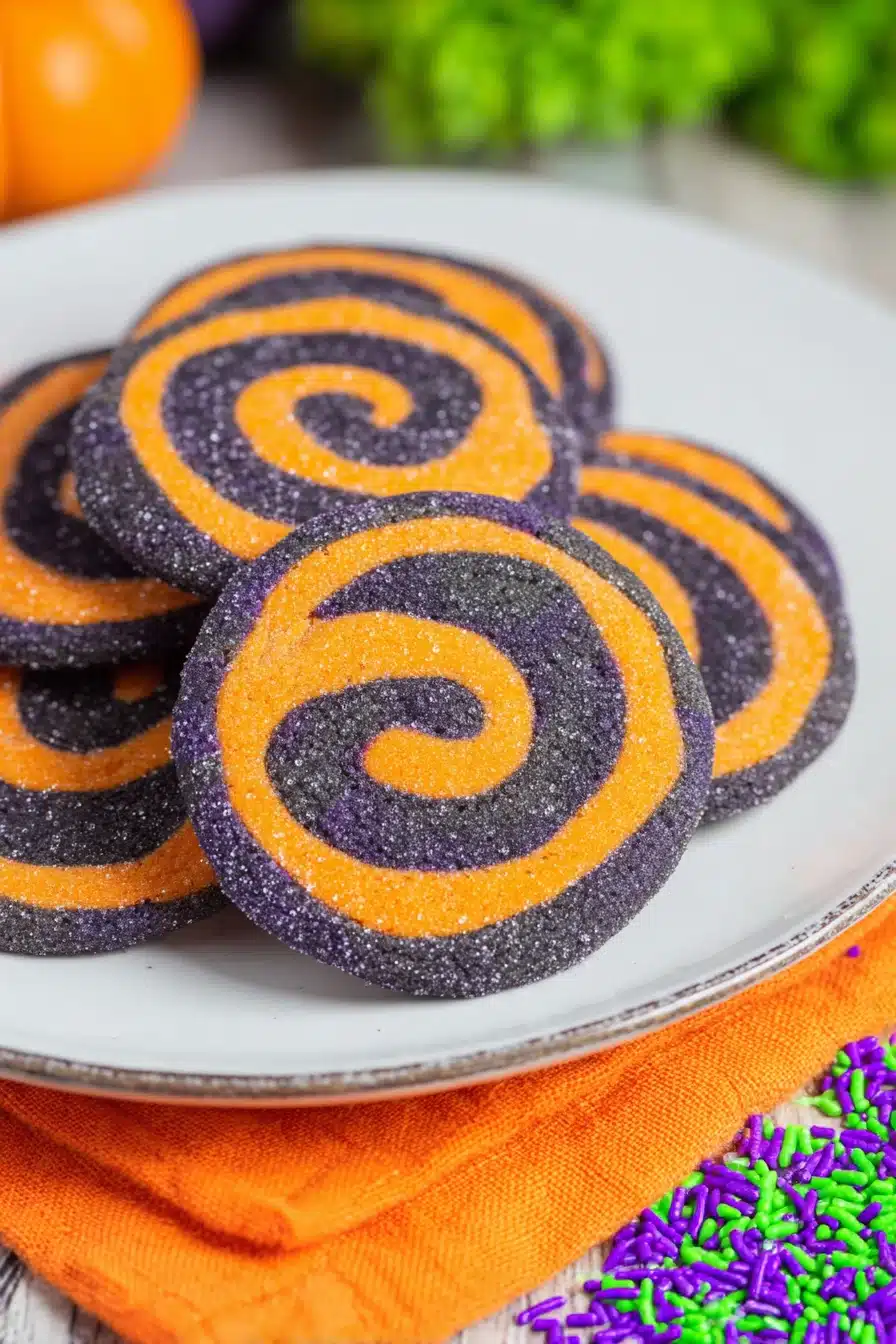
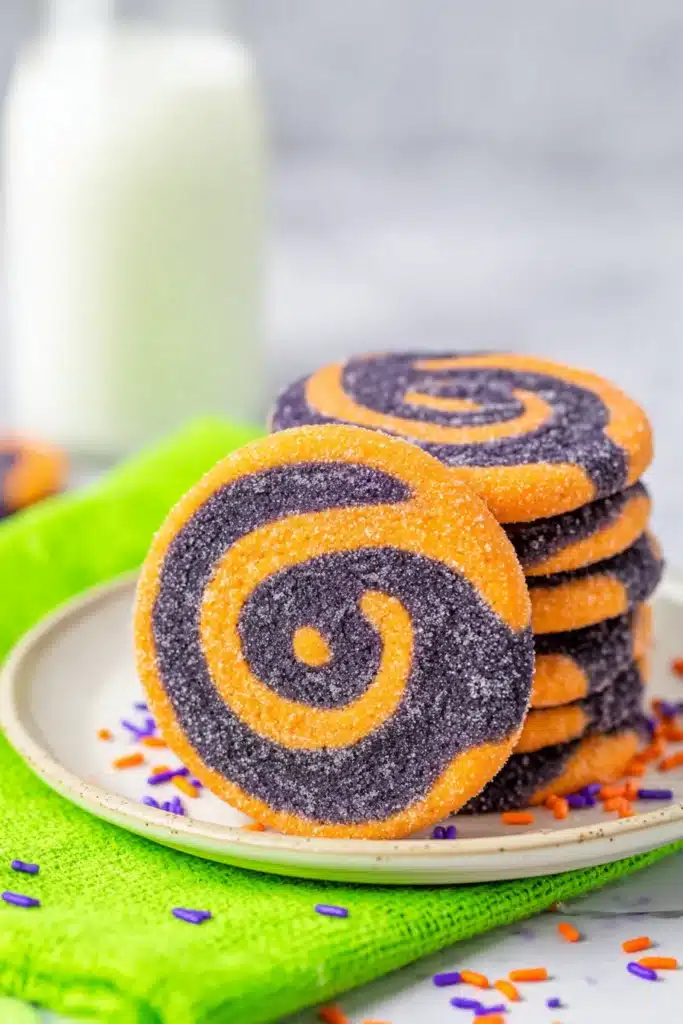
There’s something extra cozy about baking on a chilly October afternoon. The air smells like cinnamon, leaves crunch underfoot, and my kitchen becomes a little workshop of sugar, butter, and color. That’s when I know it’s time for a batch of Halloween Pinwheel Cookies — cheerful, swirly, and just spooky enough to make the kids squeal with delight.
Table of Contents
Why You’ll Love These Halloween Pinwheel Cookies
These cookies are more than cute — they’re buttery, soft sugar cookies with eye-catching orange and black swirls.
The dough is simple to make and perfect for slicing and baking. Also, these cookies hold their shape beautifully, making them great for Halloween parties, school treats, or even neighbor gift bags.
Even better, they’re not overly sweet and don’t need frosting. Just slice, bake, and enjoy.
Key Ingredients You’ll Need
You probably have most of these on hand. And if not, they’re all pantry staples:
- All-purpose flour creates a sturdy but tender cookie
- Unsalted butter gives that rich, buttery bite
- Granulated sugar sweetens and helps with structure
- Eggs and vanilla for moisture and classic cookie flavor
- Gel food coloring (orange and black) adds bold Halloween swirls without changing the texture
Want to go a step further? Try rolling the log in Halloween sprinkles or coarse sugar before slicing. A drizzle of glaze works too, but these cookies really shine all on their own.
Step-by-Step: How to Make Halloween Pinwheel Cookies
Step 1: Make the Dough
Start by whisking together your dry ingredients — flour, baking powder, and salt. Set that aside.
In a large mixing bowl, cream your softened butter and sugar until the mixture is smooth and fluffy. This usually takes 2–3 minutes with a hand or stand mixer.
Add in the eggs and vanilla extract, mixing just until everything comes together.
Now, gradually add the dry mix to your wet ingredients. Mix only until there are no dry streaks left. You want soft, smooth dough, not tough cookies.
Step 2: Divide and Color
Once the dough is ready, divide it into two even portions. Use a kitchen scale for accuracy if you want perfectly even swirls.
Now the fun part — color each half. Knead orange gel food coloring into one half and black gel food coloring into the other. Work the color in gently until fully blended.
Step 3: Roll, Layer, and Chill
Roll the black dough into a rectangle, about 9×15 inches, on a sheet of parchment paper. Chill it flat for 10–15 minutes.
Do the same with the orange dough on another sheet of parchment. Then, layer the orange dough over the chilled black dough. Try to line up the edges as best you can.
Chill the stacked dough again for another 20 minutes. This helps the layers firm up for rolling.
Step 4: Shape Into a Log
Peel the parchment off the top (orange) layer and gently place it back onto the black layer directly. Trim the edges so the rectangle is nice and clean.
Starting at the shorter side, tightly roll the layered dough into a log, keeping the swirl compact. Wrap it up in wax paper and chill for at least 2 hours. You can even leave it overnight.
Step 5: Slice and Bake
Preheat your oven to 350°F (180°C) and line your baking sheet with parchment.
Slice the chilled dough log into ¼-inch cookies and space them out on the sheet. Bake for 10 minutes. The cookies should look set but not browned.
Cool them for a minute or two on the tray, then transfer to a wire rack. You’ll see the swirls come to life as they cool.
Recipe Tips for Perfect Swirls
- Chilling is key. Don’t skip or rush the chilling steps. It helps the layers stick together and makes slicing easier.
- Use gel coloring. Liquid food coloring can water down the dough. Gel gives bold color without changing the texture.
- Roll evenly. Keep your rectangle even in thickness to get nice, clean spirals.
- Add sprinkles. For an extra pop of texture and fun, roll the log in Halloween-themed sprinkles before slicing.
Want to try these cookies for other holidays? Go for it. Swap the colors for red and green at Christmas, or pastels for spring. The base dough is super adaptable.
Storing & Freezing Instructions
Keep these cookies fresh in an airtight container at room temperature or in the fridge for up to 1 week.
To freeze:
- Dough log: Wrap tightly and freeze for up to 3 months. Slice and bake straight from frozen.
- Baked cookies: Store in a freezer-safe container with parchment between layers. They thaw quickly and still taste terrific.
FAQs
How do I know when the cookies are done baking?
Look for the edges to be just set. They shouldn’t brown. Ten minutes is usually perfect — any longer and they might get crisp.
Can I make these cookies ahead of time?
Yes! You can chill the dough log up to 48 hours before slicing. Or freeze it for longer. It’s great for planning ahead.
Can I use different colors for other holidays?
Absolutely. These cookies are super easy to adapt. Try red and green for Christmas, pink and purple for a birthday, or even team colors for game day.
Halloween Pinwheel Cookies Recipe Card (Tasty Plugin)
Print
Halloween Pinwheel Cookies | Easy & Colorful Swirl Treats
- Total Time: 2 hours 50 minutes
- Yield: 30 cookies 1x
Description
Festive slice-and-bake Halloween cookies with bright orange and black swirls. Buttery, soft, and perfect for parties or make-ahead treats.
Ingredients
3 cups all-purpose flour, sifted
½ teaspoon baking powder
¼ teaspoon salt
1 cup unsalted butter, softened to room temperature
1 cup granulated sugar
2 large eggs, at room temperature
2 teaspoons pure vanilla extract
¼ tsp orange gel food coloring
¼ tsp black gel food coloring
Instructions
1. Whisk together flour, baking powder, and salt in a medium bowl.
2. In a large bowl, cream butter and sugar until smooth.
3. Add eggs and vanilla, beat again until combined.
4. Gradually add dry ingredients to wet, mixing just until no streaks remain.
5. Divide dough into two equal parts.
6. Knead orange food coloring into one half and black into the other.
7. Roll black dough into 9×15 inch rectangle on parchment paper and chill.
8. Roll orange dough the same way.
9. Layer orange dough over black dough, aligning edges. Chill for 20 minutes.
10. Peel parchment from orange layer, place it directly on the black dough.
11. Trim edges, then tightly roll from the shorter edge into a log.
12. Wrap in wax paper and chill for at least 2 hours (up to 48 hours).
13. Preheat oven to 350°F (180°C). Line baking sheet with parchment.
14. Slice dough into ¼-inch cookies and place on sheet.
15. Bake for 10 minutes. Cool for 1–2 minutes, then transfer to wire rack.
Notes
Chilling the dough is key to keeping swirls sharp.
Use gel food coloring for best results.
Optional: Roll dough log in Halloween sprinkles before slicing.
Great for freezing and gifting.
You can swap colors for other holidays.
- Prep Time: 40 minutes
- Cook Time: 10 minutes
- Category: Halloween Recipes
- Method: Bake
- Cuisine: American
Nutrition
- Serving Size: 1 cookie
- Calories: 101
- Sugar: 9
- Sodium: 49
- Fat: 1
- Saturated Fat: 0.3
- Carbohydrates: 21
- Fiber: 0.4
- Protein: 2
- Cholesterol: 15
More Such Recipes
Try these other fun and festive Halloween sweets:
- Easy Halloween Chocolate Chip Cookies
- Oreo Bat Cookies for Halloween
- Halloween Spiderweb Brownies Recipe
- Easy Cauldron Cookies Halloween Recipe

Final Thoughts
These Halloween Pinwheel Cookies bring all the fun of spooky season into your kitchen — without the stress. They’re colorful, soft, and reliable every time. Whether you’re baking with kids or prepping party bags, these cookies fit the mood perfectly.
Feel free to experiment with colors, shapes, or sprinkles. And if you try them, tag me on Pinterest or Facebook — I’d love to see your creations!

