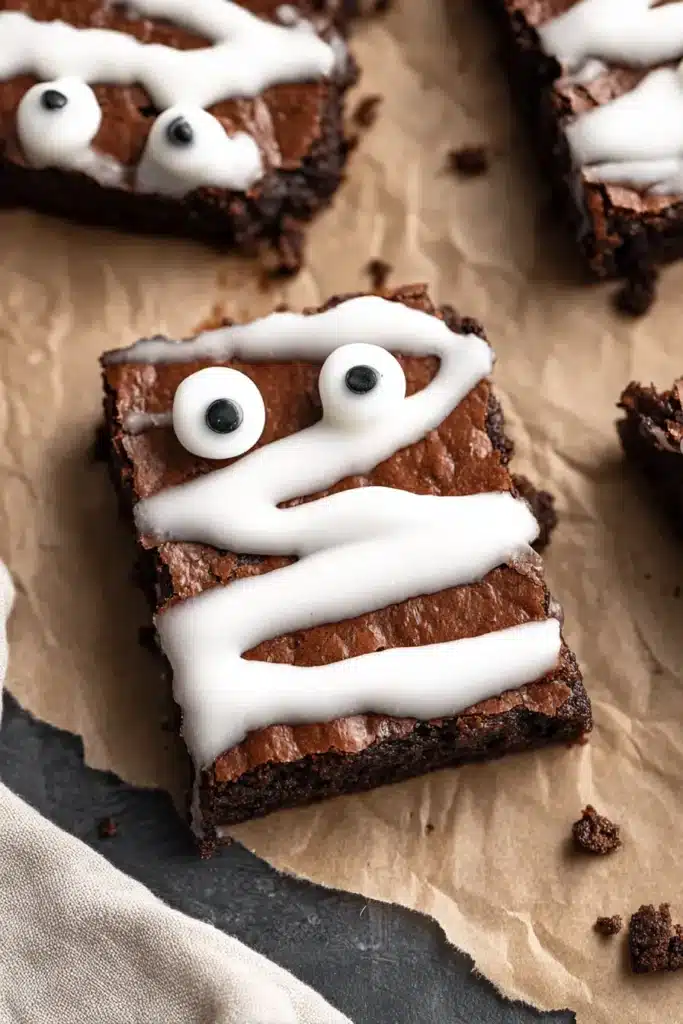
The first time I made these mummy brownies, it was a rainy October afternoon. My niece came over with a plastic pumpkin full of leftover candy and a sparkle in her eye. We didn’t need perfection we just needed sugar, laughs, and something spooky. These brownies were messy, sweet, and full of charm. Just like Halloween should be.
Table of Contents
Why You’ll Love These Mummy Brownies
These mummy brownies check all the boxes. They’re quick to make, super fun to decorate, and naturally gluten-free if you use an almond flour base. The whole process takes less than 30 minutes once your brownies are baked and cooled.
What’s even better? Kids can help every step of the way. From zig-zagging the icing to sticking on those goofy candy eyes, it’s all hands-on. You don’t need any fancy tools—just a Ziploc bag and a sense of humor.
Perfect for classroom parties, trick-or-treat trays, or just a cozy baking day at home.
Ingredients You’ll Need
Brownie Base
Start with one batch of your favorite brownies. You can go cakey, fudgy, or use almond flour brownies for a gluten-free version. If you’re in a rush, store-bought works just fine.
Just make sure they’re cool before decorating.
Icing Ingredients
You only need two things here:
- 1 cup powdered sugar
- 2 to 3 tablespoons of milk
Whisk them together until smooth. The texture should be thick enough to drizzle but not too runny.
Decorations
Grab a small pack of candy eyes. You’ll need 24—two for each brownie. They give your mummies that spooky, silly personality.
Step-by-Step Instructions
- Let brownies cool completely before decorating. This is key. Warm brownies will melt your icing.
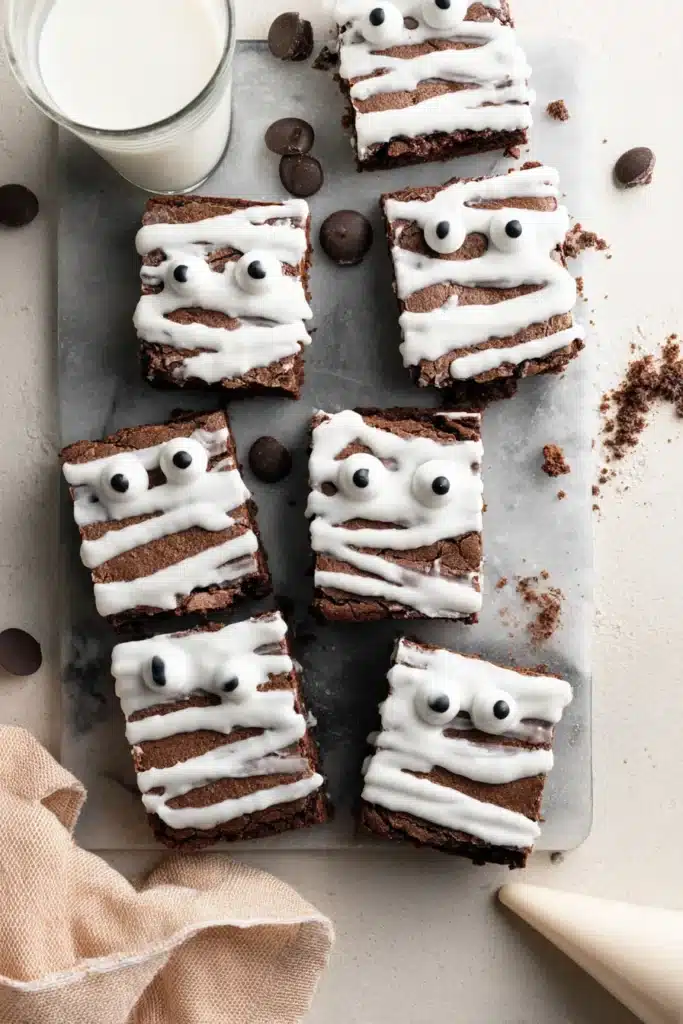
- Cut into 12 rectangles. They don’t need to be perfect.
- Make the icing. Whisk powdered sugar with 2 tablespoons of milk in a small bowl. Add a little more milk if needed, one teaspoon at a time.
- Transfer icing into a piping or Ziploc bag. Snip a small tip off the corner.
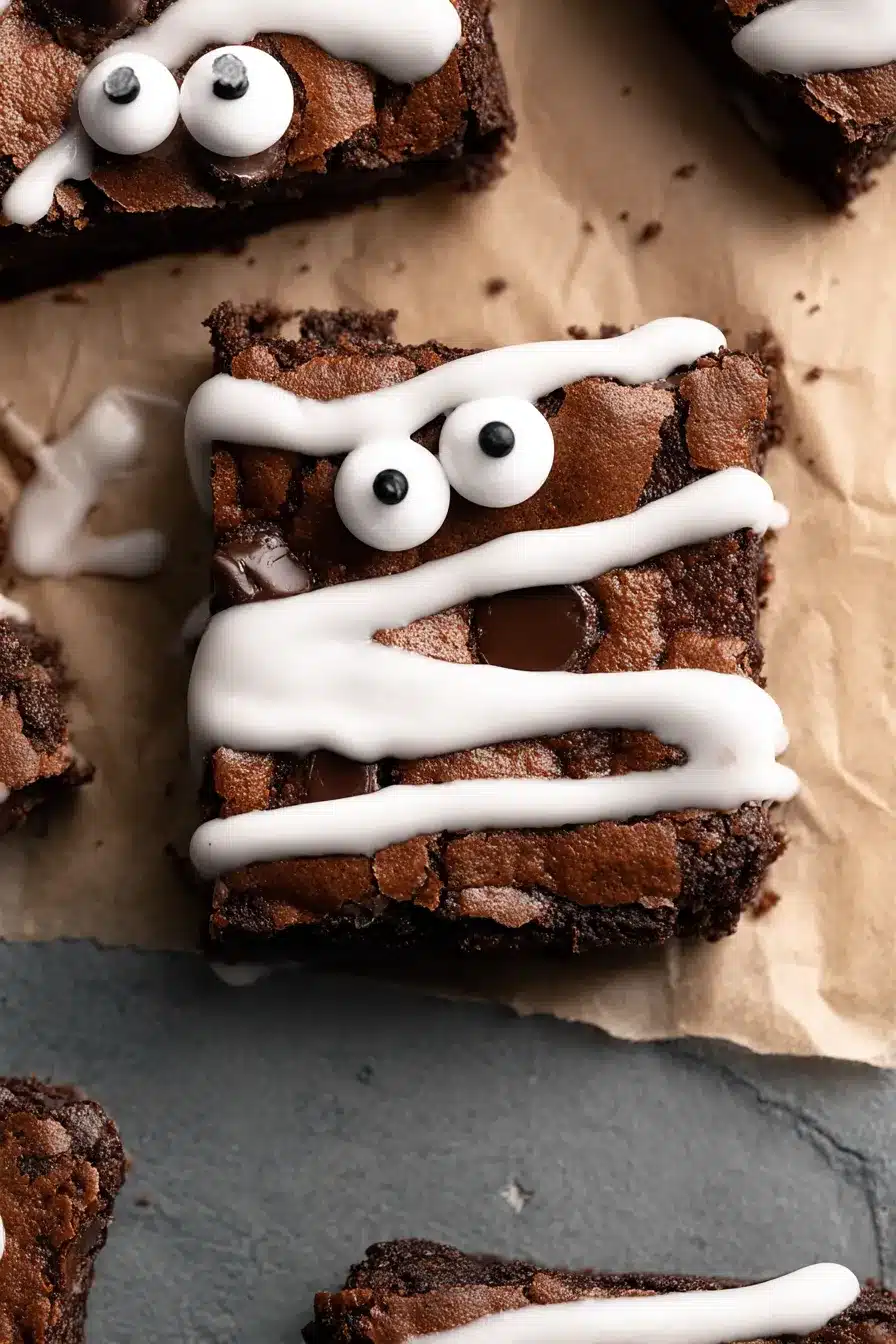
- Drizzle the icing over each brownie in a zig-zag pattern. Neat or wild—it’s all good.
- Add candy eyes while the icing is still wet. Press gently so they stick.
- Let the icing set for 10 minutes. Then you’re ready to serve or store.
Pro Tips for Best Results
- Let brownies cool completely. Even slightly warm brownies will cause the icing to slide off.
- Don’t overthink the drizzle. A chaotic mummy looks just as cute as a neat one.
- Save the candy eyes for last. It’s the easiest way to make sure they sit right on top.

Recipe Card – Mummy Brownies (Gluten-Free)
Print
Mummy Brownies – Easy & Fun Halloween Treat!
- Total Time: 35 minutes
- Yield: 12 brownies 1x
Description
A spooky, gluten-free Halloween treat your whole family will love. These mummy brownies are fun to decorate, super easy to make, and perfect for parties or kid-friendly baking days.
Ingredients
1 batch of brownies (cut into 12 rectangles)
1 cup powdered sugar
2–3 tablespoons milk
24 candy eyes
Instructions
1. Let brownies cool completely.
2. Cut into 12 rectangles.
3. Make icing by whisking powdered sugar and milk in a small bowl.
4. Transfer icing to a pastry bag or Ziploc bag with a small tip cut.
5. Drizzle icing over brownies in a zig-zag pattern.
6. Place two candy eyes on each brownie.
7. Let icing harden for 10 minutes before serving.
Notes
Cool brownies fully before decorating to prevent the icing from melting.
Use any brownie base you like — fudgy, cakey, or almond flour for gluten-free.
Neat or messy icing works. Each mummy can have its own personality!
Add candy eyes last while icing is still wet for best results.
- Prep Time: 10 minutes
- Cook Time: 25 minutes
- Category: Halloween Recipes
- Method: Baking
- Cuisine: American
Nutrition
- Serving Size: 1 brownie
- Calories: 300
- Sugar: 28g
- Sodium: 85mg
- Fat: 15g
- Saturated Fat: 7g
- Unsaturated Fat: 6g
- Trans Fat: 0g
- Carbohydrates: 38g
- Fiber: 2g
- Protein: 3g
- Cholesterol: 40mg
FAQs About Mummy Brownies
Can I make these ahead of time?
Yes! You can make and decorate them a day in advance. Just store them in an airtight container once the icing hardens.
How do I store mummy brownies?
Keep them in a single layer in an airtight container at room temperature. They’ll stay fresh for 2–3 days.
Can I use store-bought brownies for this recipe?
Absolutely. Just cut them into rectangles and decorate the same way.
More Such Recipes
If you’re loving the Halloween baking vibes, check out these too:
Try these Pumpkin Cheesecake Cookies for Halloween Treat Trays. They’re soft, spiced, and perfect for fall.
Need a healthier treat? These Easy Zucchini Brownies for a Healthier Twist sneak in veggies without anyone noticing.
For more themed fun, whip up Chocolate Pumpkin Cupcakes for Spooky Party Desserts. They’re rich, moist, and scream October.
Or bake a batch of Mini Pumpkin Pie Crescent Rolls as Festive Finger Foods for quick, two-bite treats.
Final Thoughts
These mummy brownies are more than just cute they’re easy, creative, and bring people together. Whether you’re hosting a party, packing lunchbox treats, or just enjoying a Halloween night at home, they’ll steal the show.
So grab your candy eyes, cue the spooky playlist, and get baking. And if you try them, don’t forget to share your creation with us on Pinterest or Facebook. Happy haunting!

